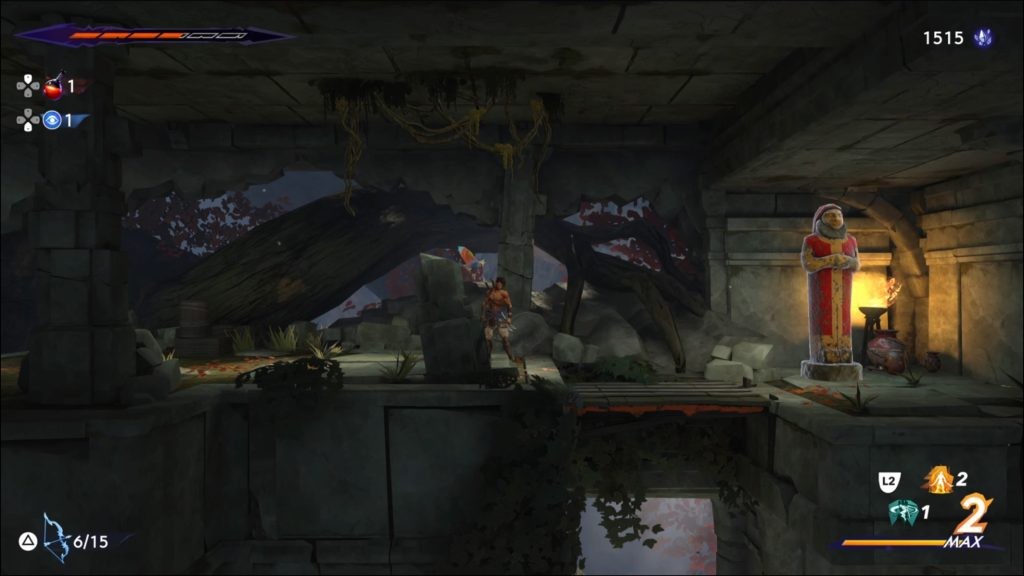
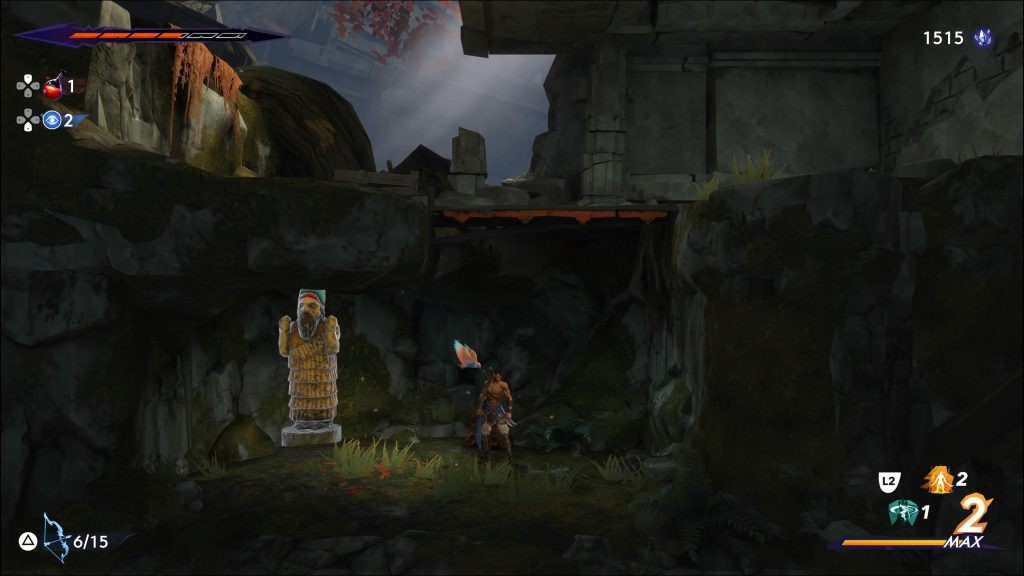
Mystery Chests are one of the side quests in Prince of Persia: The Lost Crown that will have you racking your brain as you try to solve the puzzles to open them. You’ll find each of the nine chests hidden in various areas on the map, with only a black altar on the ground giving away its existence. Take a close look at your surroundings to find clues to solving the puzzle that will trigger the chest’s appearance.
They are all part of The Architect side quest and culminate in a final Enigma you’ll have to solve to complete the quest and earn your reward. But don’t worry, we have done the heavy lifting for you and found the locations of all Mystery Chests and figured out each of the solutions, including the Enigma, so you don’t have to. Follow these easy steps to complete them all with ease.
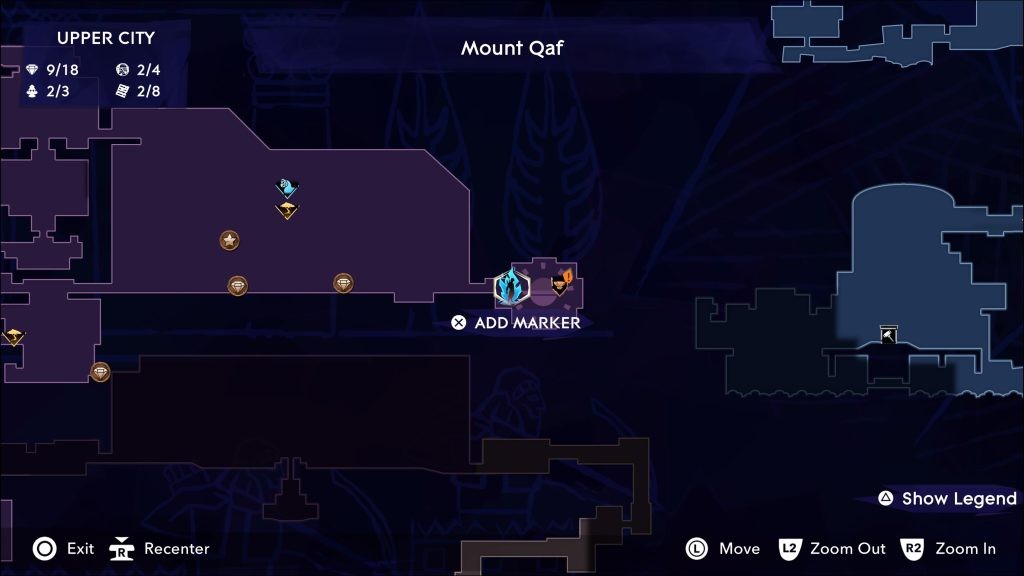
The Locations of All Mystery Chests in Prince of Persia: The Lost Crown at a Glance
1. Lower City
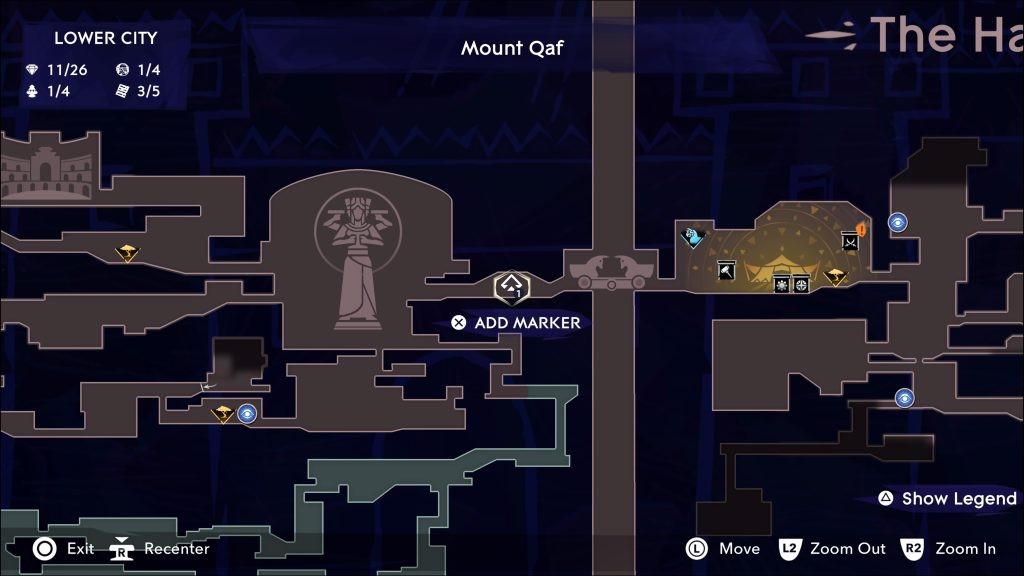
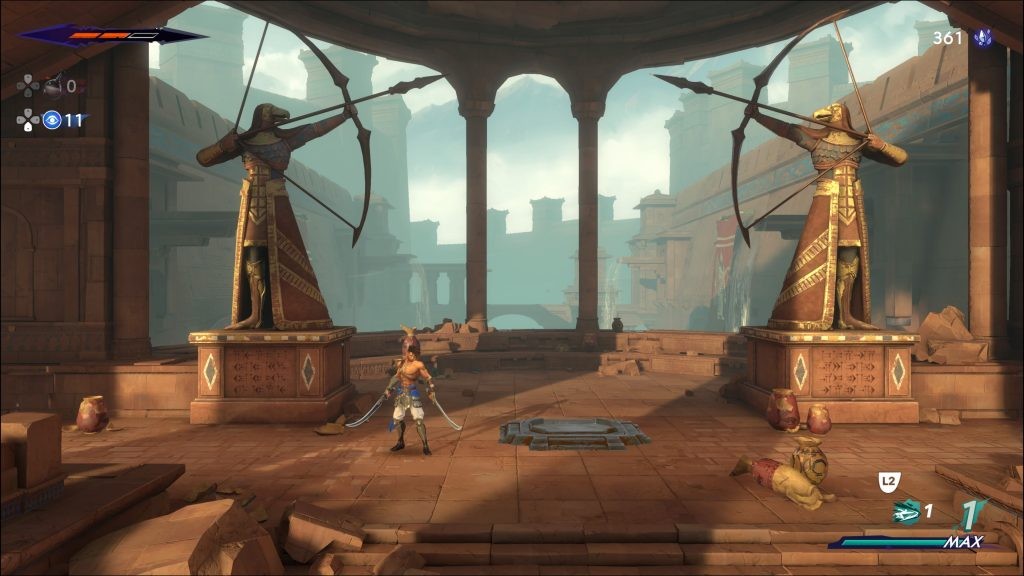
You’ll find the first of the Mystery Chests in Prince of Persia: The Lost Crown in the Lower City, near the Haven. You’ll come across it very early in the game. However, you can only open it once you have acquired the bow.
As soon as you have your bow and arrows, stand in the middle of the two statues and shoot straight up to make the chest appear.
2. Hyrcanian Forest

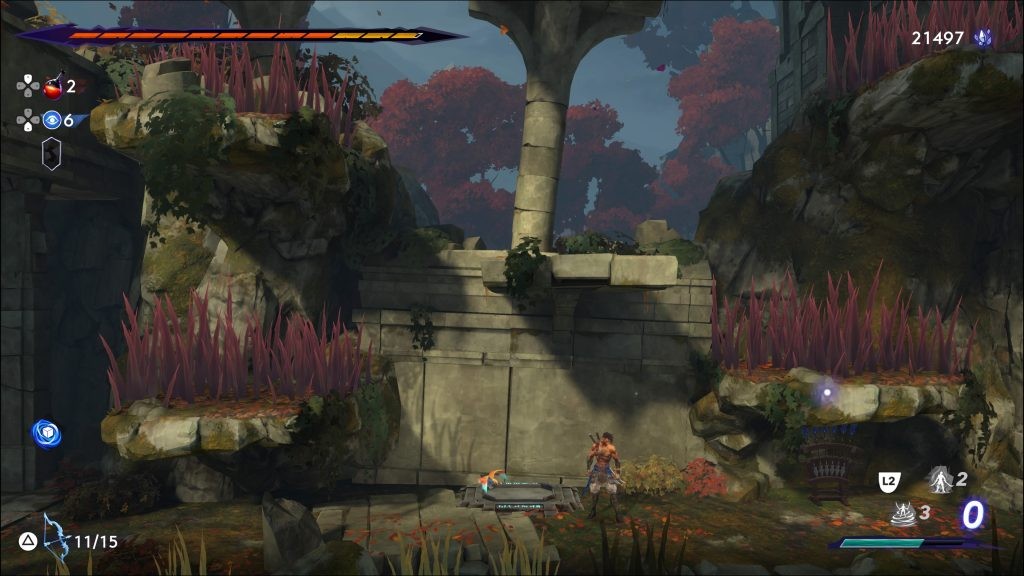
You’ll find the second Mystery Chest in the Hyrcanian Forest. Using either your bow or your swords, cut the grass on all four platforms as fast as you can, making sure you’ve cut all of it before it grows back. When all four platforms have been mowed, the chest will appear.
3. Sacred Archives
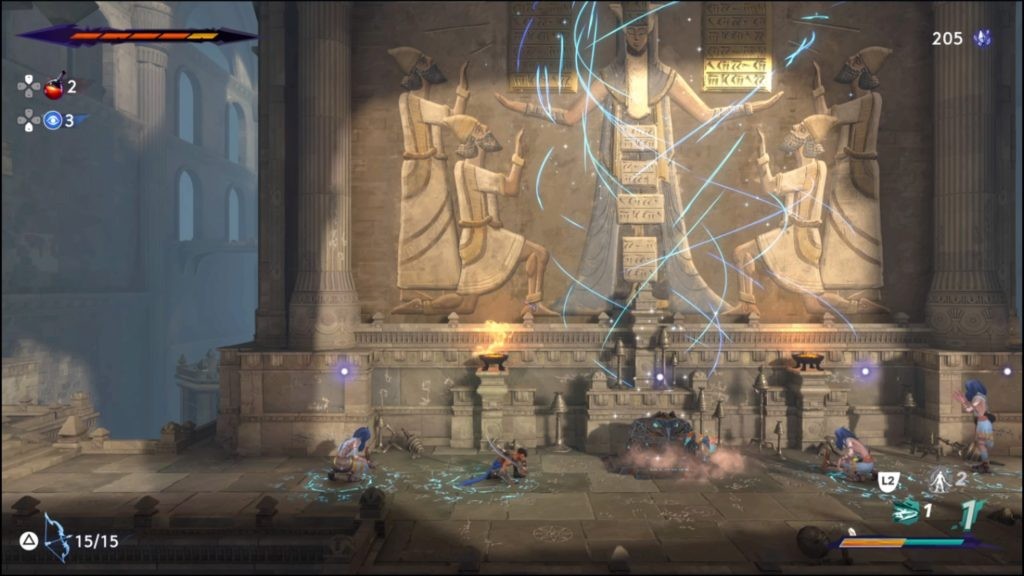
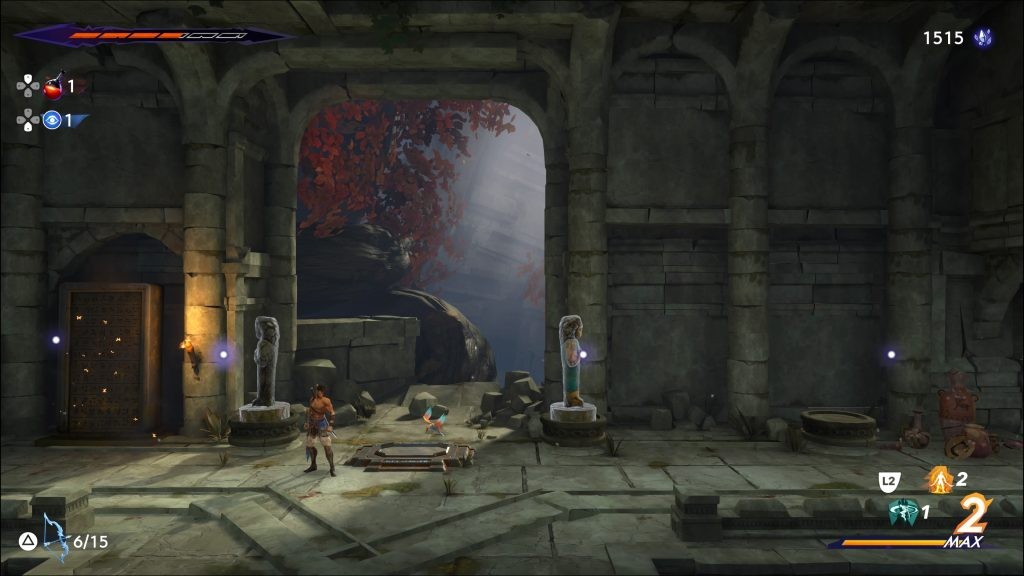
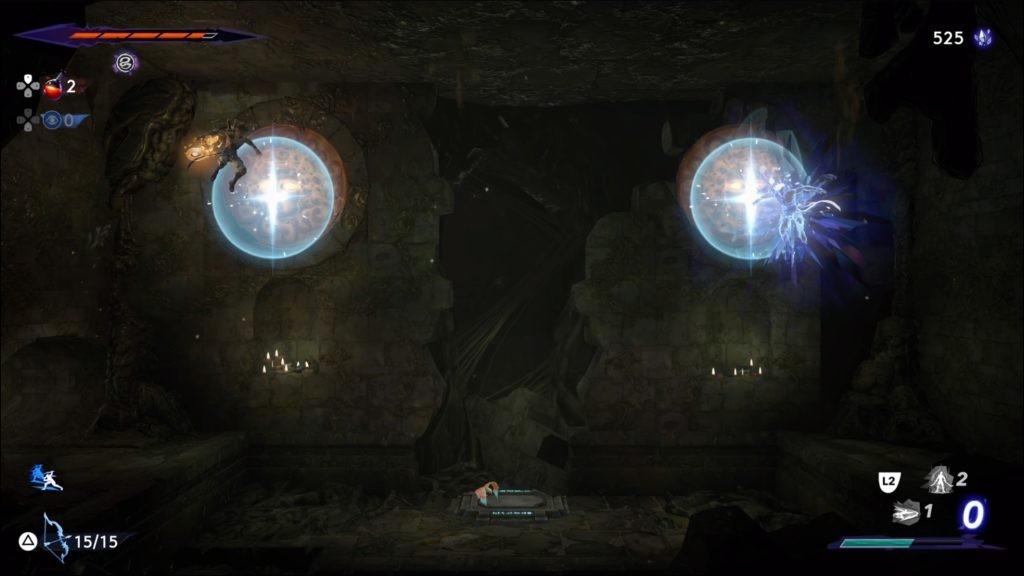
The next Mystery Chest is in a room in the Sacred Archives. You’ll see three alchemists standing in front of a mural. The solution to this puzzle is simple: Don’t talk to the alchemists and walk into the third circle. Crouch down by pulling your left thumb stick down to imitate the image on the wall. This will make the Mystery Chest appear.
4. Tower of Silence
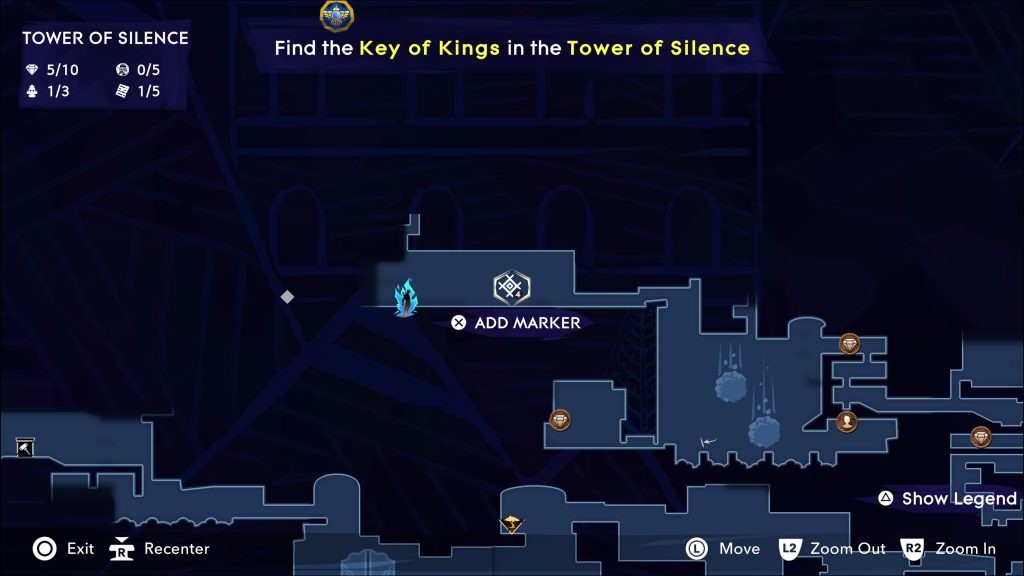
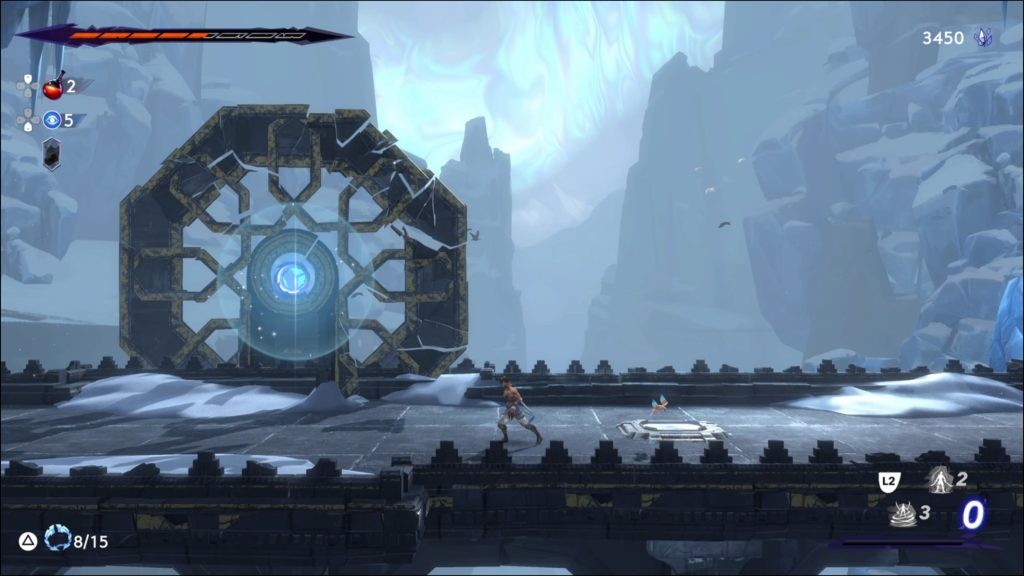
You’ll find one of the Mystery Chests in the Tower of Silence at a later stage in the game. On a bridge, you’ll see a structure broken into pieces. Move around and change the angle of your perspective to line up the pieces and make the structure appear complete again. Then shoot your Chakram into the structure’s center to open this chest.
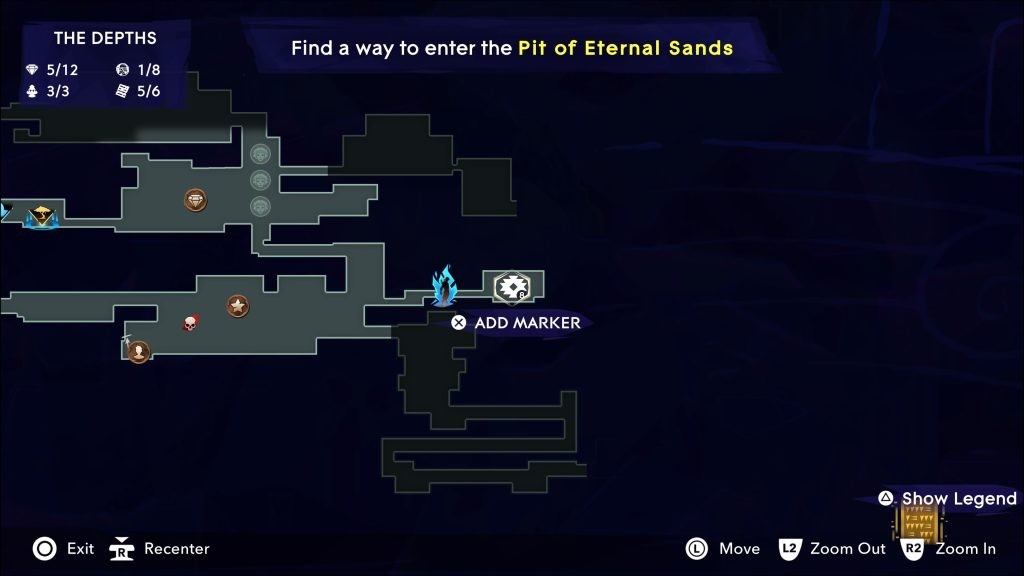
5. Pit of Eternal Sands
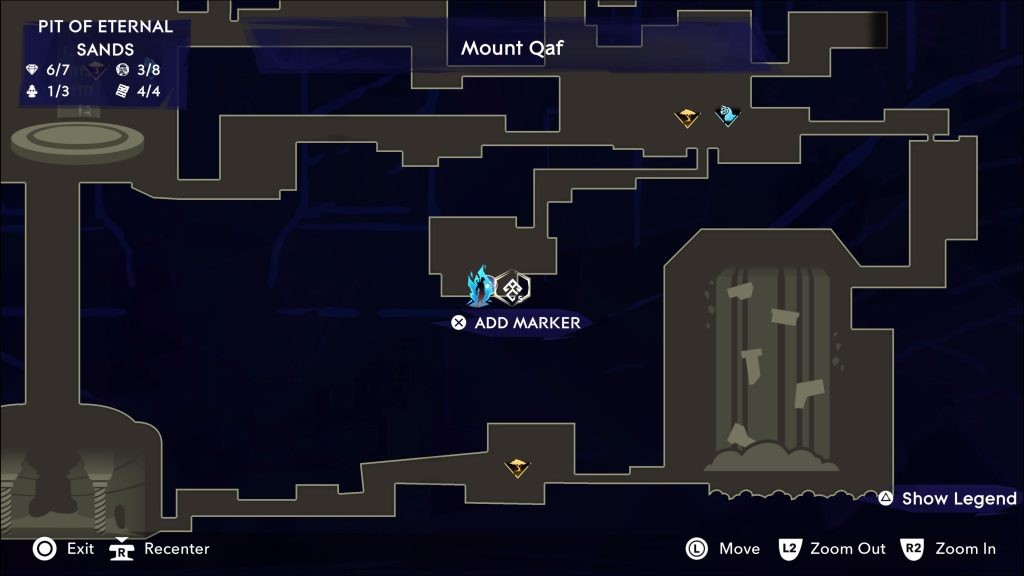
One of the trickier Mystery Chests is located in the Pit of Eternal Sands. You will need the Dimensional Claw Time Power to complete this one.
Underneath the Wak-Wak tree and the Sentinel’s Road fast-travel location, you’ll see a blocked path. Using the Dimensional Claw, grab one of the glowing boulders in that room. Shoot it at the blocked path to open it.
Afterward, fast travel to the Night Temple in the Upper City. Jump down and into the building, then exit it through the western door. There, you will find this enemy:
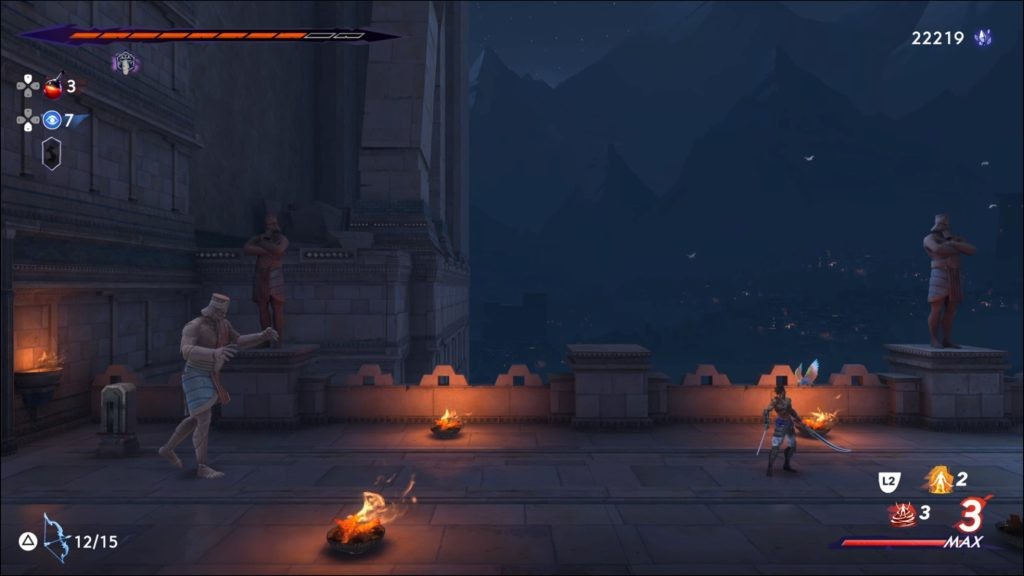
Stand next to him and press O to grab him with your Dimensional Claw. Check if the blue cube on the left edge of the screen appears, signaling that he’s trapped in the other dimension. Head back up to the fast-travel horse, making sure you don’t die on the way (as this would make you lose the enemy).
Travel back to Sentinel’s Road, and jump down the path underneath the Wak-Wak tree. If you haven’t gone down yet, you will find Fariba here. Go past her (after buying her map) and head down. You’ll enter a hall with two large statues.
Do they seem familiar? They look the same as the enemy you just abducted in the Upper City. Stand on one of the platforms, aim toward the center, and press O. This will shoot the enemy down onto the ground, which will trigger a trap.
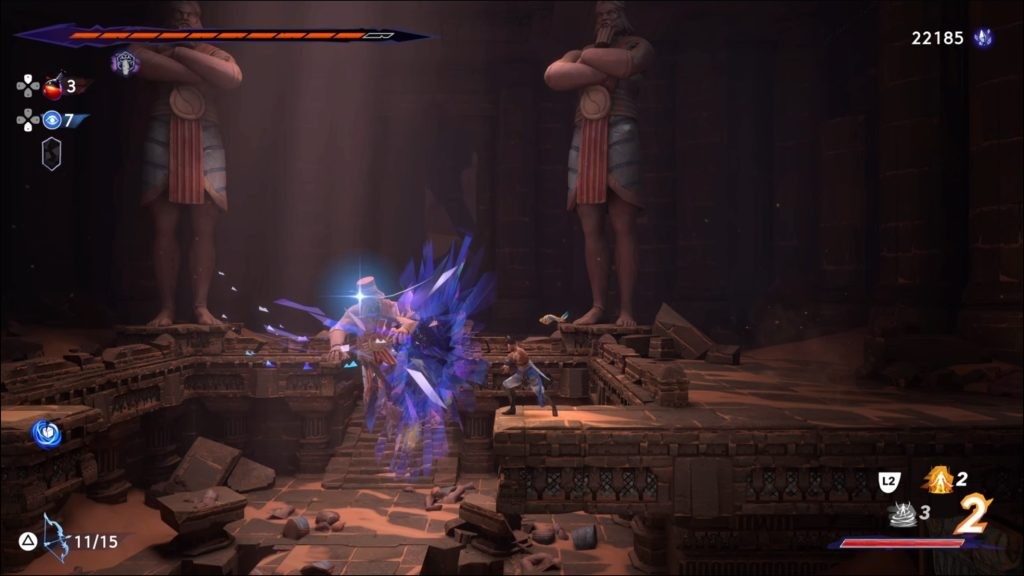
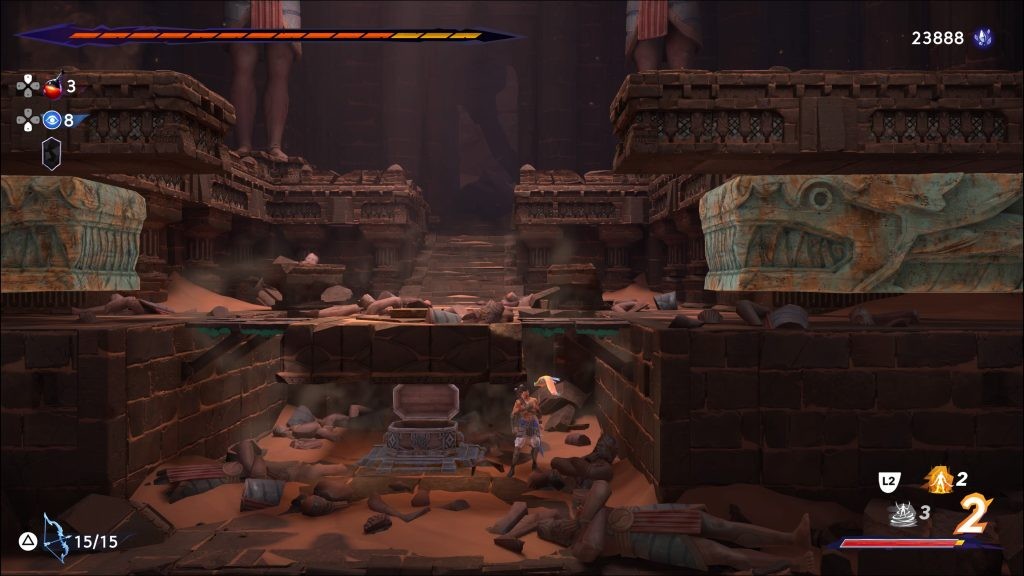
Once the enemy gets squished, the chest in the ground underneath the wooden platforms will appear. Be careful when jumping down, as that will trigger the trap. Head down and immediately jump through the wooden platform to open the chest underneath.
6. Sunken Harbor
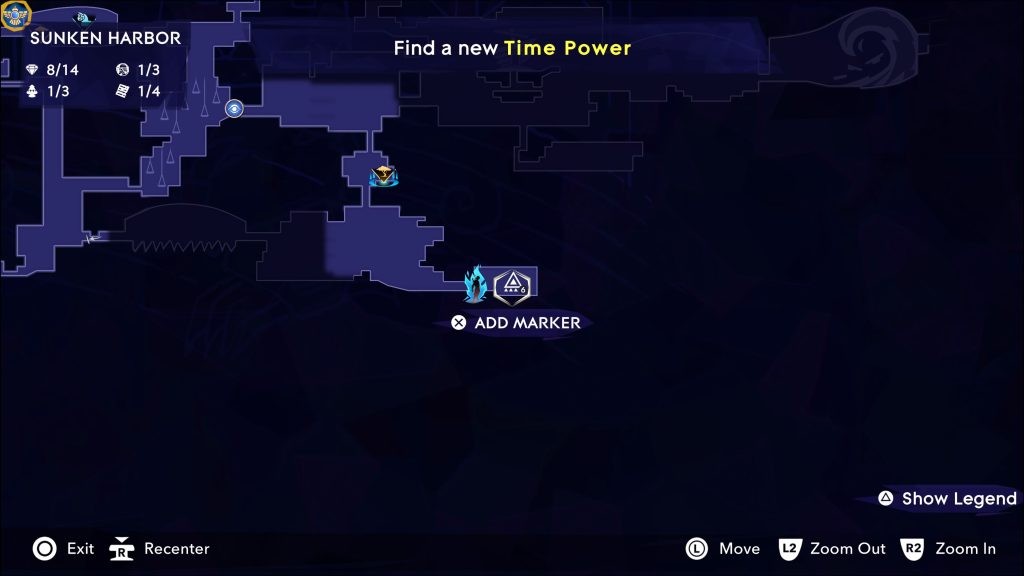
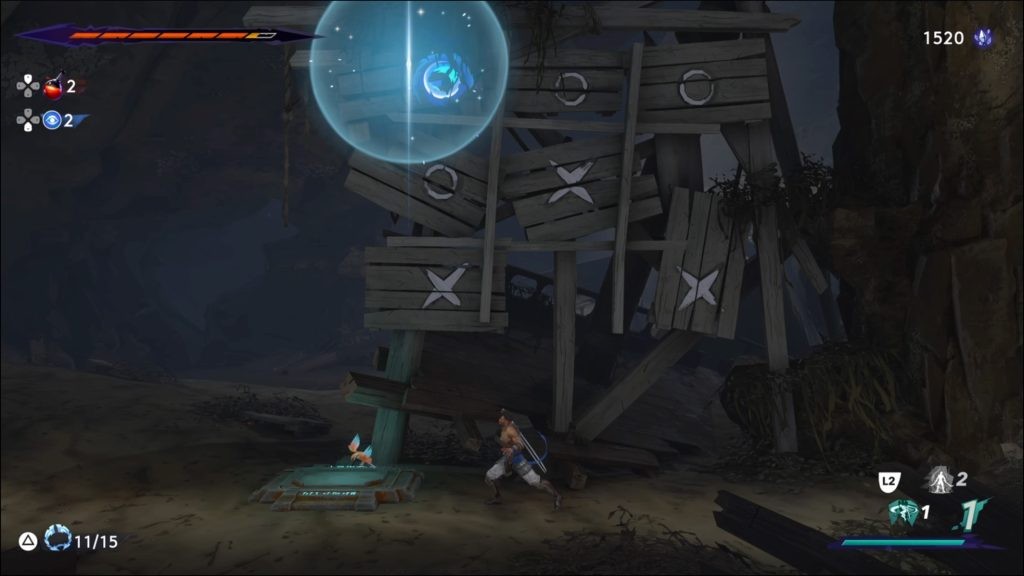
You’ll find one of the Mystery Chests in a room in the Sunken Harbor, where you’ll see a wooden board with X’s and O’s.To solve the puzzle, complete the tic-tac-toe by shooting your Chakram to the top-left corner. This will make the chest appear.
Watch out! When you open the chest, it will turn into an enemy and try to eat you. You’ll have to fight and defeat it first before accessing its treasure.
7. Soma Tree
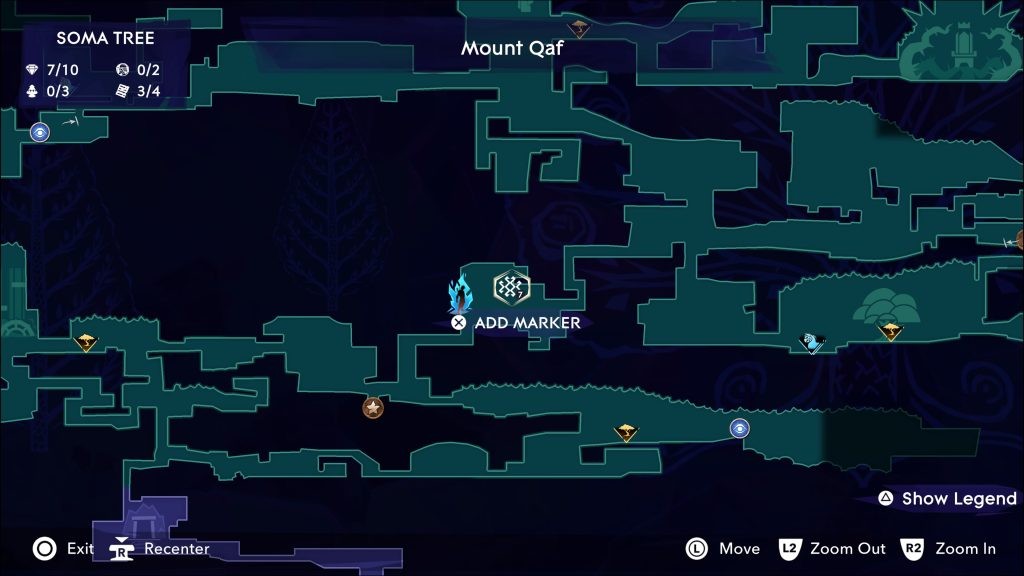
One of the Mystery Chests can be found in the Soma Tree area. To solve this one, you’ll need the Dimensional Claw, and it’s easier if you already have the Gravity Wings.
You’ll find a room with two statues and a board with a riddle. Start by removing the gray statue from the plinth and placing it on the side with your Dimensional Claw. You won’t be needing this one.
Move the small colorful statue onto the plinth on the far right. Turn it until it faces left.
Then head to the left of the room and jump up to find another colorful statue. Use the Dimensional Claw to grab it and jump back down. Place it on the left plinth, facing right (east).
Then walk to the right of the room and jump down to find another statue down below. Grab it by pressing O, then jump back up. If you have Gravity Wings, you can just jump back up to the room with the other statues.
Place the statue on the plinth in the middle, facing right (towards the small one). This will make the chest appear.
If you don’t have Gravity Wings yet: After getting the statue from down below, shoot the statue onto the platform above you (the one you can’t reach yet) by holding O and aiming up. Then head to the left through the pink door, climb up the vines, and re-enter the room from the top. Head back down onto the platform and grab the statue. From there you can jump up without Gravity Wings.
8. Catacombs in The Depths
For the eighth Mystery Chest, head to The Depths, into a room to the east of the Catacombs fast-travel location. You’ll need the Shadow of the Simurgh ability to solve it.
You’ll see two faces on the wall. Jump in front of one of them to illuminate it and hit L1 to create your shadow self. This will keep the face illuminated. Head to the other side and jump in front of the other face. As soon as both are lit up, the chest will appear.
9. Temple of Knowledge in the Sacred Archives
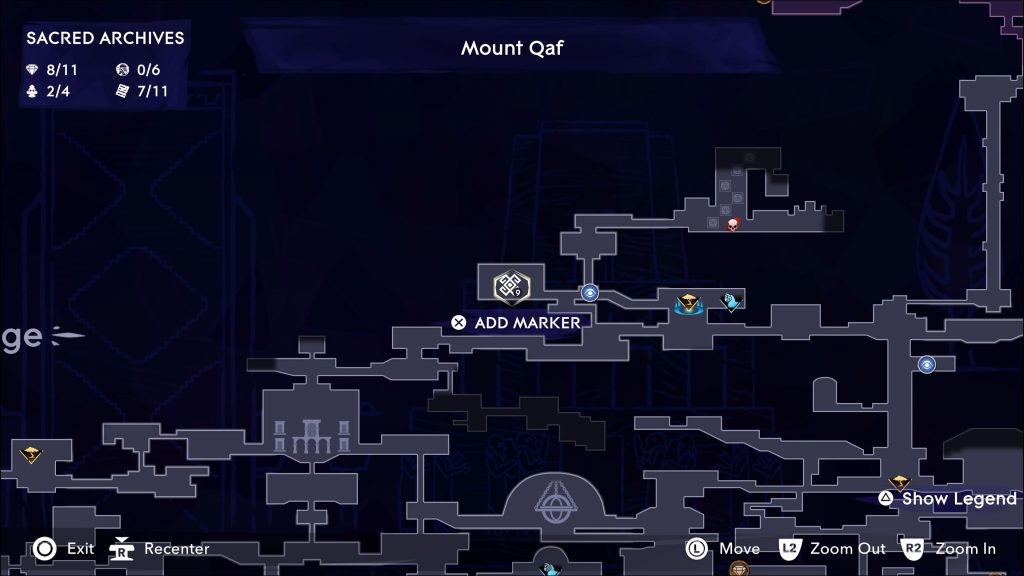
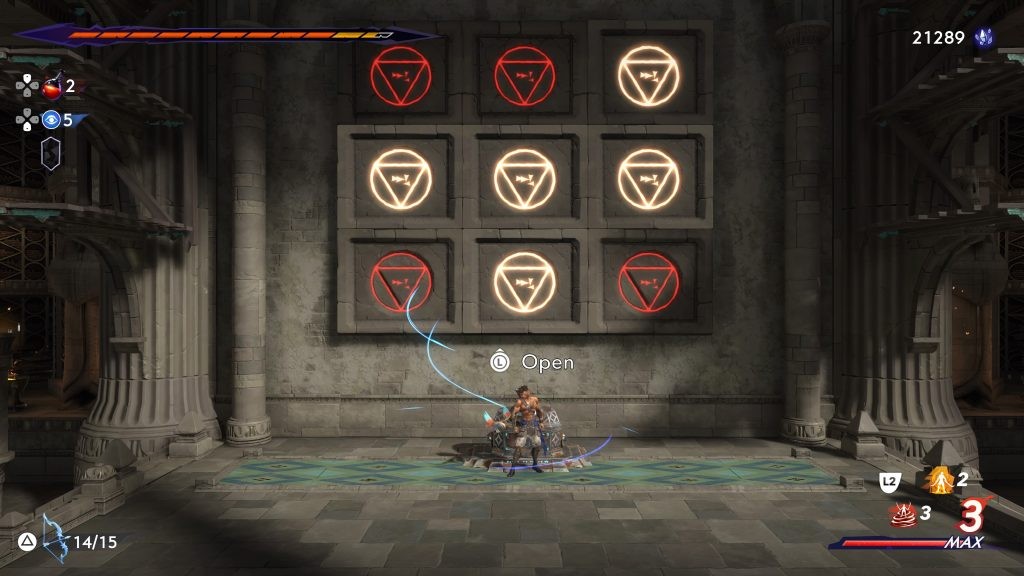
You’ll find the last Mystery Chest in the Sacred Archives in a room west of the Temple of Knowledge fast-travel spot. You’ll see a grid with nine tiles.
The solution to this riddle can be seen on a wall in an adjacent room. To imitate it, stand underneath the grid and jump up. When the middle tile in the bottom row is illuminated, press L1 to create a shadow self.
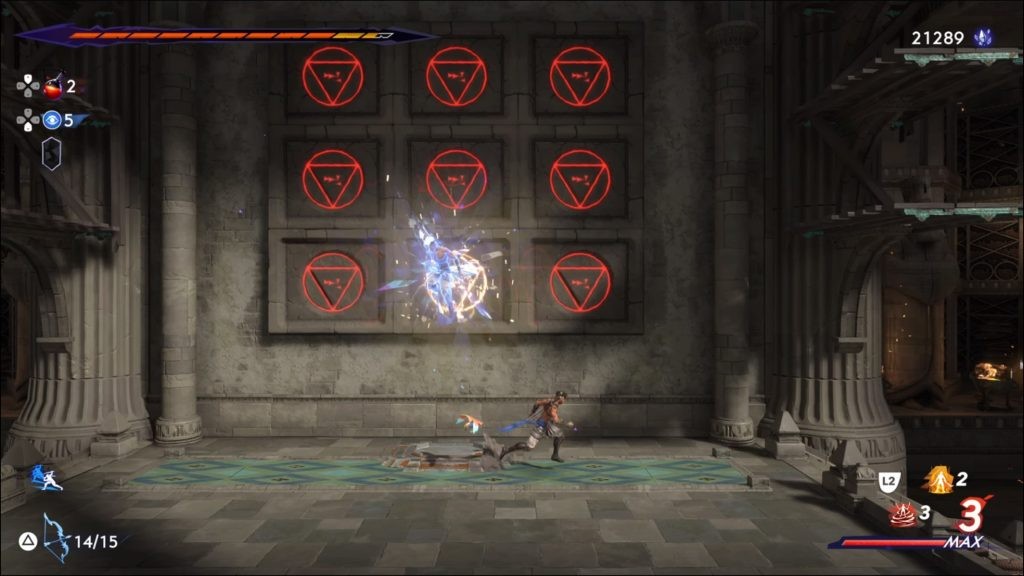
Then jump onto the top platform to the right of the grid. Jump down in front of the top-right corner, then dash across the middle row. Once you have reached the far left, quickly teleport back to your shadow self. All five tiles have to be illuminated at the same time for the chest to appear. And make sure you don’t get smashed by one of the incoming blocks.
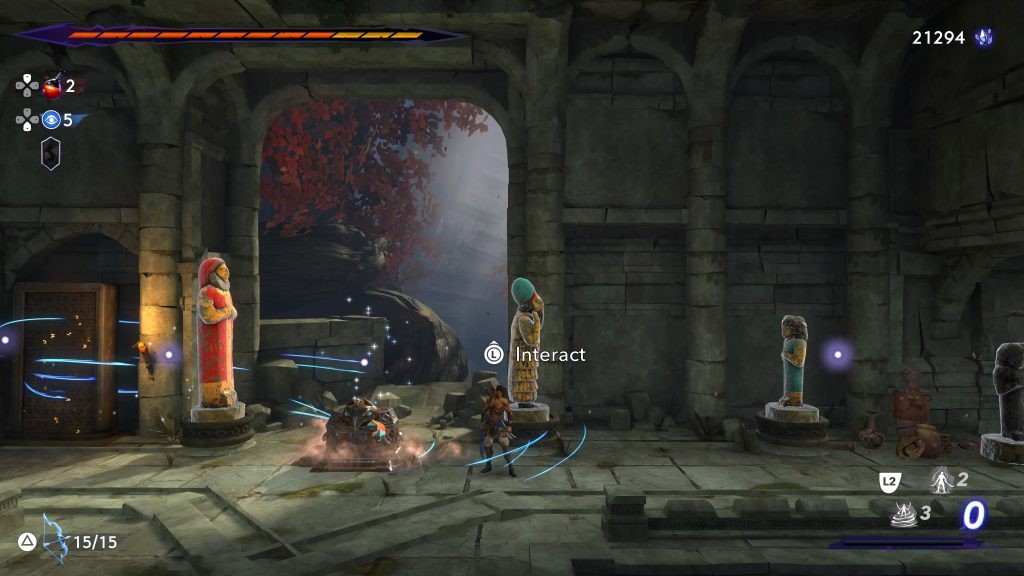
10. Upper City: The Enigma
Once you have completed all 9 Mystery Chests in Prince of Persia: The Lost Crown, head to the Upper City. Enter the room to the east of the Night Temple fast-travel location, and jump across using the Fabric of Time to find the Architect. She is the one responsible for all the traps and puzzles you’ve encountered on Mount Qaf, including the Mystery Chests.
Now you’ll have to solve one last puzzle, the Enigma, to prove your worth to the Architect and earn your award.
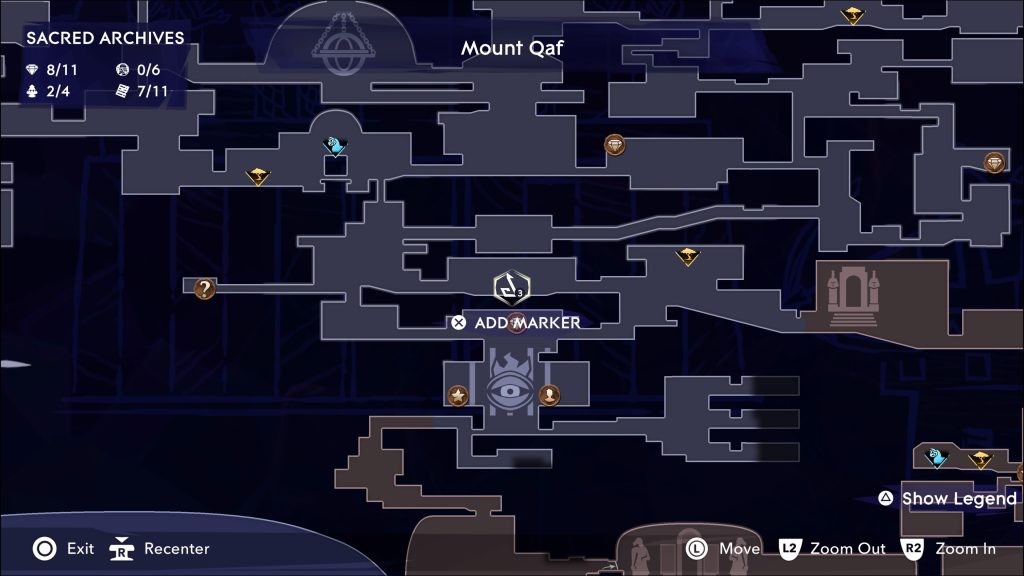
You’ll see tiles with symbols flying in a circle around you. Each of these symbols represents one of the Mystery Chests you opened. You can see each chest’s symbol and its corresponding number on the map. To solve the Enigma, you need to hit all the symbols with your arrows or Chakram in the correct order.
You can follow the symbols and numbers on the map, but these are tiny and difficult to decipher. Hit them in this order to solve the Enigma:
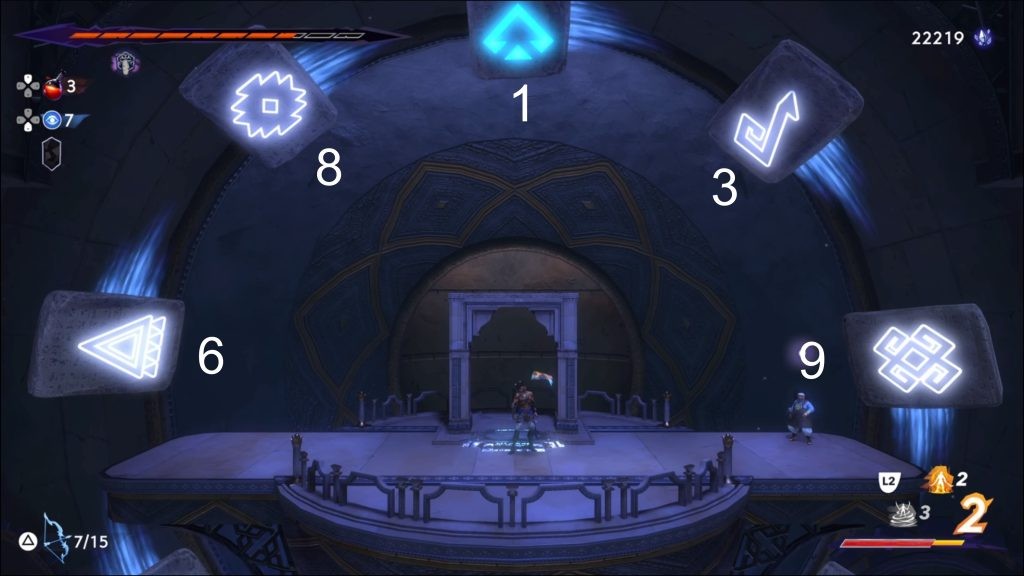

Once completed, you will have impressed the Architect and proven appreciation for her work. Follow her into her workshop to earn your reward. If you speak to her, she might even tell you a secret.
With this guide, you shouldn’t have any problems finding and opening all Mystery Chests and the Enigma in Prince of Persia: The Lost Crown. Take a look at our other guides to get more handy tips and tricks.
Follow us for more entertainment coverage on Facebook, Twitter, Instagram, and YouTube.