This Alone in the Dark chapter 3 puzzle guide is here to ensure that your journey continues without much hassle. At the beginning of Chapter 3, your protagonist has managed to solve the medallion puzzles and find themselves back at Derceto. You’ll be holding onto a Chest Key and a letter.
The next areas of Alone in the Dark are going to test your wit against a bunch of different and new puzzles that will require you to keep track of all the unique items in your possession. Without spoiling any details, let’s dive straight into it.
Alone in the Dark Chapter 3 Puzzle Guide and Walkthrough – Convent of Taroella and Gallatin Street
Once you’re through with Chapter 2, Return to the Drawing Room area, and locate a telescope. A quick puzzle here will reveal how the lenses align, leading to a wall-mounted puzzle. It’s a simple one and gives you a code; 9-4-1 which is used to enter the Convent of Taroella. Next, head to the Dining Room, moving towards the Main Parlor.
Once you locate a small library, jump into the catacombs and locate the grand library. Alone in the Dark is full of creepy places like this one, but don’t be scared away! You’ll just need to be careful of a cross-shaped socket found on a pillar. This leads to another ladder, that eventually takes you to floor 2. A similar pattern then gives you access to floors 3 and 4.
You’ll be making your way through a clerestory to the other side of that floor. Remember to add the cross to the pillar next to the elevator, as this lets you enter it and pick up a book. Next, a cutscene will lead you to Gallatin Street.
Navigate through this area of Alone in the Dark until you see a small boathouse. Find a ladder that leads you to a desk with a crane key on it. This key is used to operate a crane and helps you enter the sewers. Next, follow a ladder into the warehouse where you can find an office and a safe code from a cabinet. The code is L4-R5-L4. Once opened, you’ll obtain the cargo manifesto and the Tommy Gun.
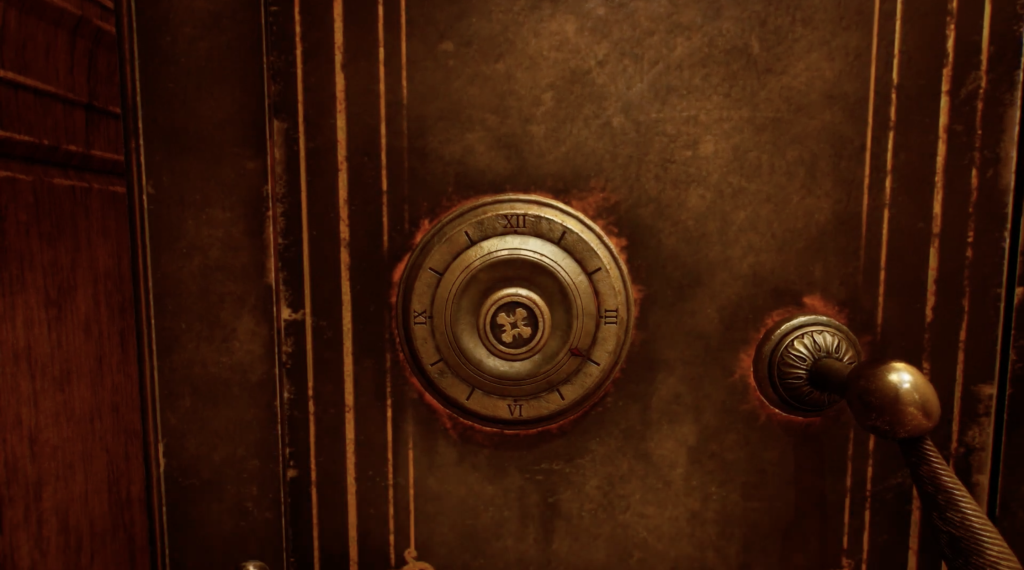
Once you make your way out of this area, there’s one puzzle coming in the way of your next Alone in the Dark adventure. This is the sarcophagus puzzle which requires a talisman. Right behind, you’ll notice a bunch of symbols that match with Perosis journal and the familiar zodiac signs. The code here is 258.
Uncovering the Desert Standing Stones
Alone in the Dark is full of interactable objects, and this next area is going to make you work for it. Head towards the dunes where you can pick up a rope. This rope is used on the wire anchor, leading to a cutscene.
As you traverse the next area, you’ll find a lens that can be picked up. Add it to the lens holder pull the lever by the door, and point the beam towards the eye right above the door. This will unlock it. Make sure you also pick up the ancient pick in the room.
Upon descending into the next zone, you’ll have to destroy a barricade that reveals yet another lens. Enter the hallway next, and keep moving until you can direct the lens once again towards the eye on the box, and pick up the third lens.
Another set of stairs will lead you to the side of a balcony, where you can add this lens to a holder. Direct this beam towards the mirror that’s at the left of a massive statue. Doing so will activate the lends right above the statue. Head up to it, and direct it towards the plate found on the floor. Next comes an escape sequence. Without spoiling much, you’ll find yourself interacting with another plate that triggers a cutscene.
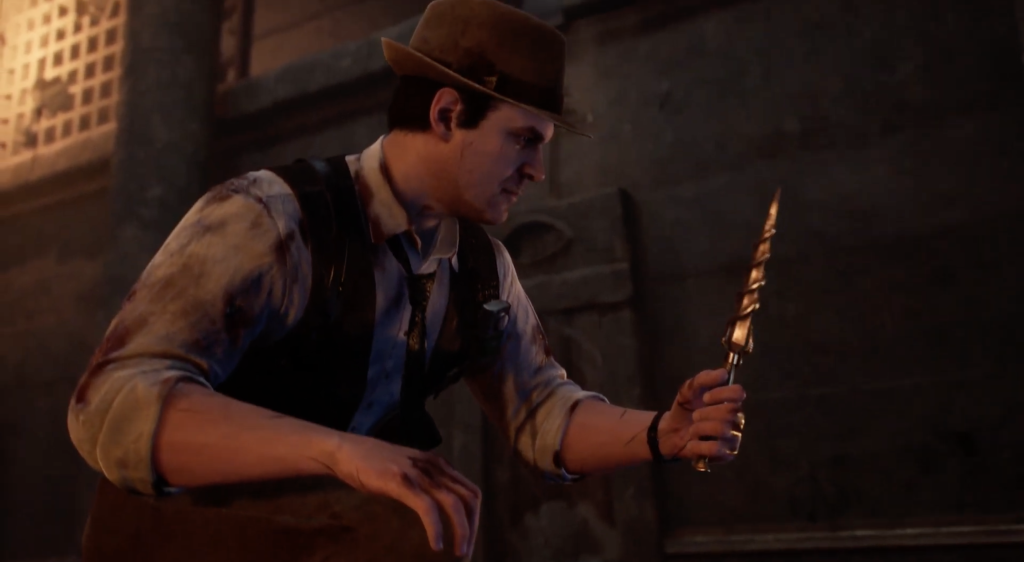
The cutscene lets you take a closer look at the Dark Man’s Contract and a Sacrificial Dagger. This is what leads us to Chapter 4 of Alone in the Dark.
What are your thoughts on this chapter of Alone in the Dark? Were you able to navigate the areas smoothly? Let us know in the comments below.