A reimagination of the classic horror games from the 90s is here, and Alone in the Dark sets the atmospheric tone for everything eerie that tests your wits. This Alone in the Dark Chapter 1 puzzle guide is curated for players in a way that helps with the essential parts of the game, without spoiling any story details.
The game sets a solid foundation for players to explore the Derceto Manor, a hauntingly beautiful landscape with a backdrop of, ‘something seems off‘. While the game lets you explore several different aspects of its gameplay, the puzzles can be particularly tricky.
This guide aims at helping you out with the chapter’s key progression points, so you won’t have to break your head over things. Who knows? Maybe enough mental trauma and you might find yourself trapped in Derceto Manor forever.
Alone in the Dark Chapter 1 Puzzle Guide – Obtaining Batiste’s key chain and getting your hands on the Talisman
Once you’ve picked your character and learned about the game’s initial narrative sequence, you’re tasked with finding Jeremy Hartwood (and further secrets we won’t spoil for you). Once you’re acquainted with the game’s controls, you’ll find yourself exploring a garage where you can find a flashlight.

You’ll also obtain the key to the Kitchen Garden, which eventually leads to the Conservatory. Here, you’ll find another key! This is inside a broken pot next to the fountain. This will take you to a door that lets you exit the Derceto building.
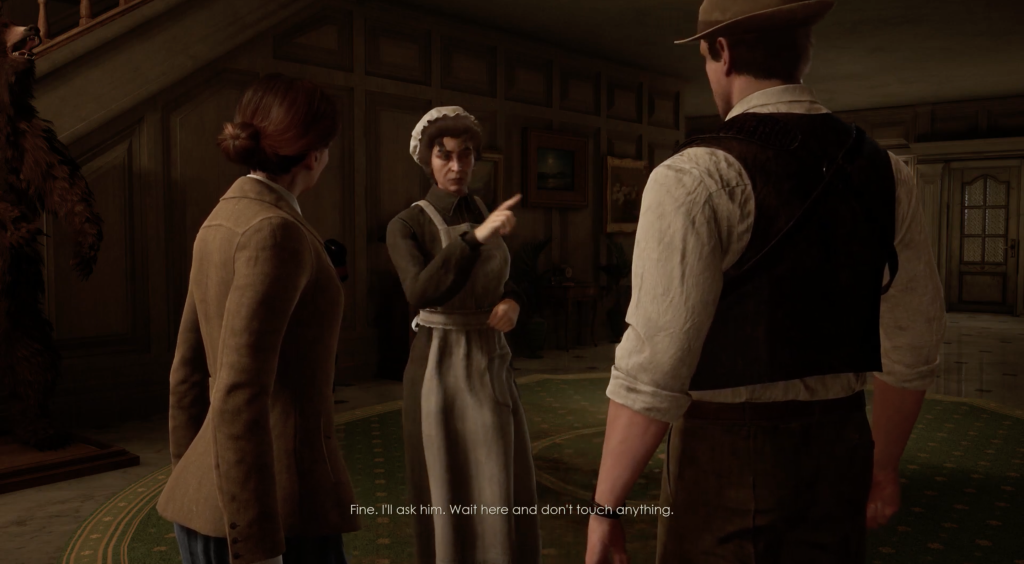
Explore the Staff Lounge & Laundry and Kitchen & Preparation areas, you’ll take the stairs that lead to Lottie’s Room. This is where you find a few essential items; a Piazza key and the Derceto floor plan. Once you make your way through the Piazza, a cutscene will occur.
Right after the cutscene, you’ll be exploring your way through the French Quarters. Treat yourself to some action sequences, and find yourself at the courtyard’s exit. This is where you find the spiritual supply shop Johnny The Conqueror. Right after a cutscene, you’ll receive Batiste’s key chain.
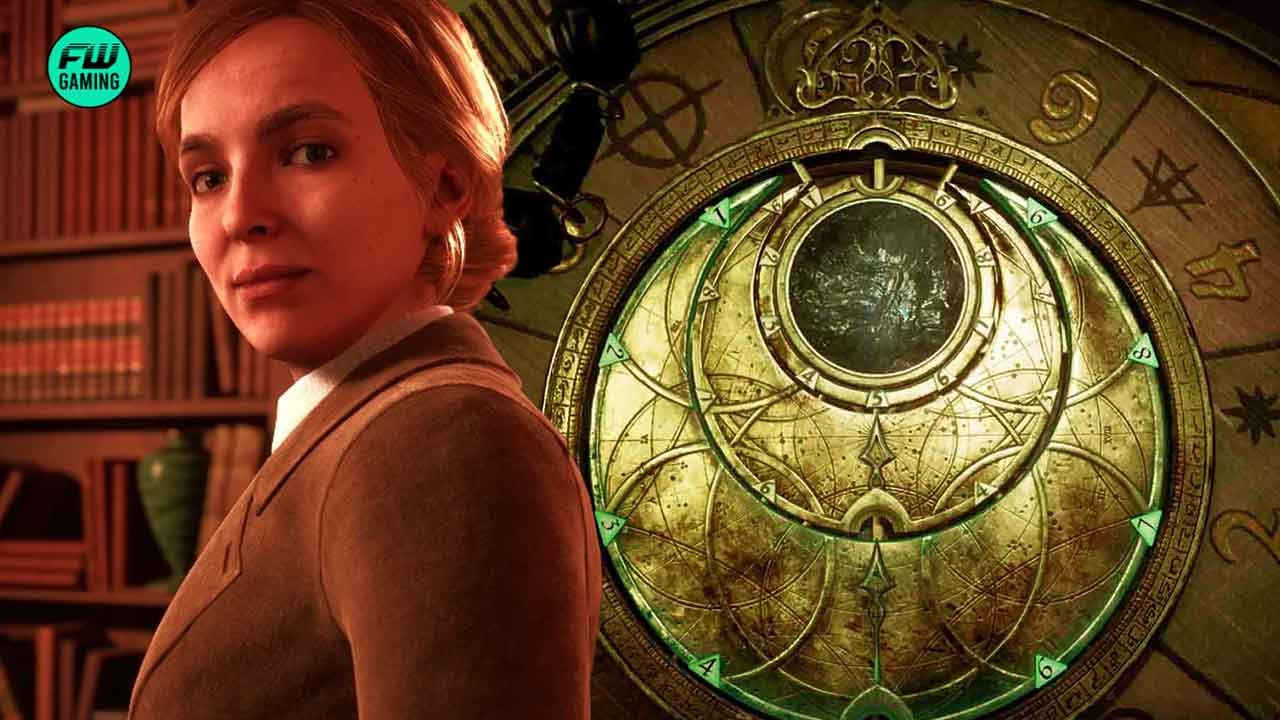
Next, fight your way through the courtyard and follow the balcony that you find on the other side. This is where you’ll gain access to the Seance Room, where the talisman is found. This is just an initial part of completing the first Chapter of Alone in the Dark. Now, how do we go about making sense of this?
Entering the code for the talisman
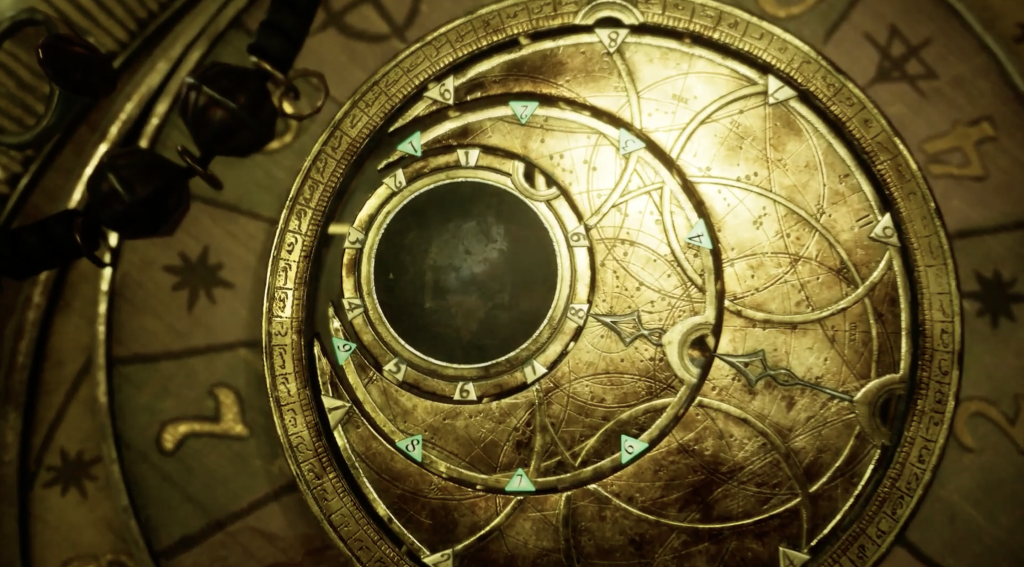
You’ll see a socket table, where the talisman fits like a glove. If you missed out on exploring Deerceto a little initially, worry not. The code to this talisman is 3-5-8. According to the sequence, the first circle on the talisman will be the smallest.
Once you’ve entered the code, you’ll notice a shimmer of light entering from a door nearby. Upon entering the door, you’ll find yourself triggering two cutscenes, and shortly making your return to Derceto. These are the major points of info you need to know for now.
Additionally, if you’re someone exploring Alone in the Dark purely for the story and want to make things a little easier. You can choose either of two; Modern or Old-School mode. The former allows you to have in-game guides help you out a bit, while the latter makes things a bit more difficult. Up for the challenge, detective?
Moreover, you should also know that other than the obvious resources like health and ammunition, there are special little items in Alone in the Dark called ‘Lagniappes‘. These are collectibles, and upon collecting three of them (that forms a set), you will be able to decipher forbidden knowledge. For some of these, you might have to play as both Emily and Carnby. So yeah, another playthrough should be on your agenda.
There’s a lot more to the Alone in the Dark experience, and it’s up to you how you choose to explore the first few areas. Once you’ve cracked the code to the talisman, it’s time to head towards Chapter 2, where you’ll be back at Derceto.
What are your thoughts on the first major puzzle? Were you able to figure it out yourself at any point? Let us know in the comments below.