Marvel’s Spider-Man 2 is here, and with it, a lot of content to try and complete. From the main story to the side missions and the many collectibles, there is a lot to digest, a lot to collect, and consequently, a lot you can miss. We’ve covered nearly every collectible so far, but here’s not only the locations of all Prowler Stashes but how to complete them, as well.
Locations of all Prowler Stashes – Where and How
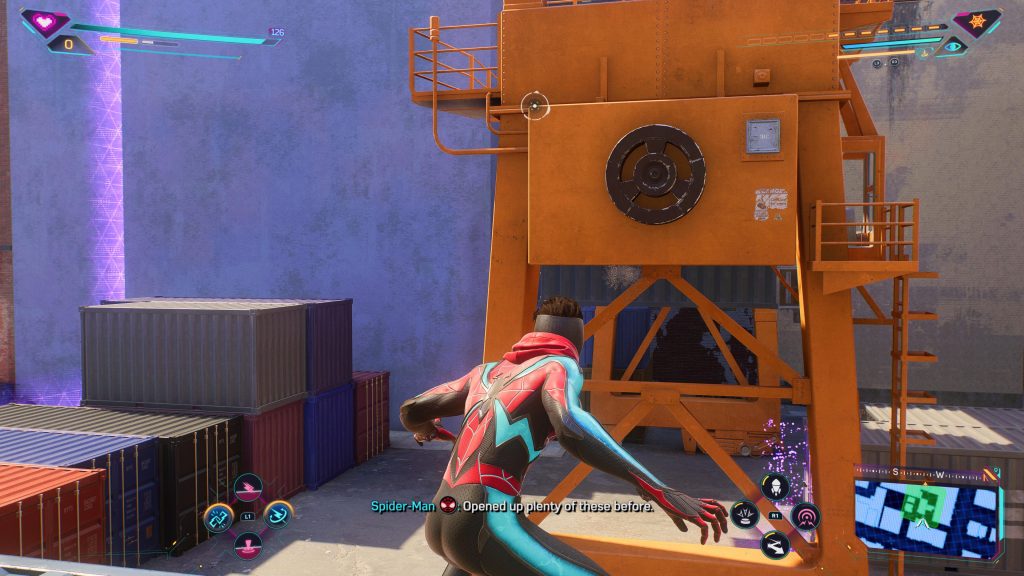
Upper West Side
Part of a main story mission and impossible to miss. You’ll be called by your Uncle Aaron aka The Prowler to make amends and meet up. After a quick discussion, he’ll send you to find one of his hidden caches filled with Prowler tech, pictured below.

All that is required to get inside the hidden stash? Ensuring you hold the triggers just right for a selected amount of time, and then yanking the doors open. Do this twice and voilà, you’re in.
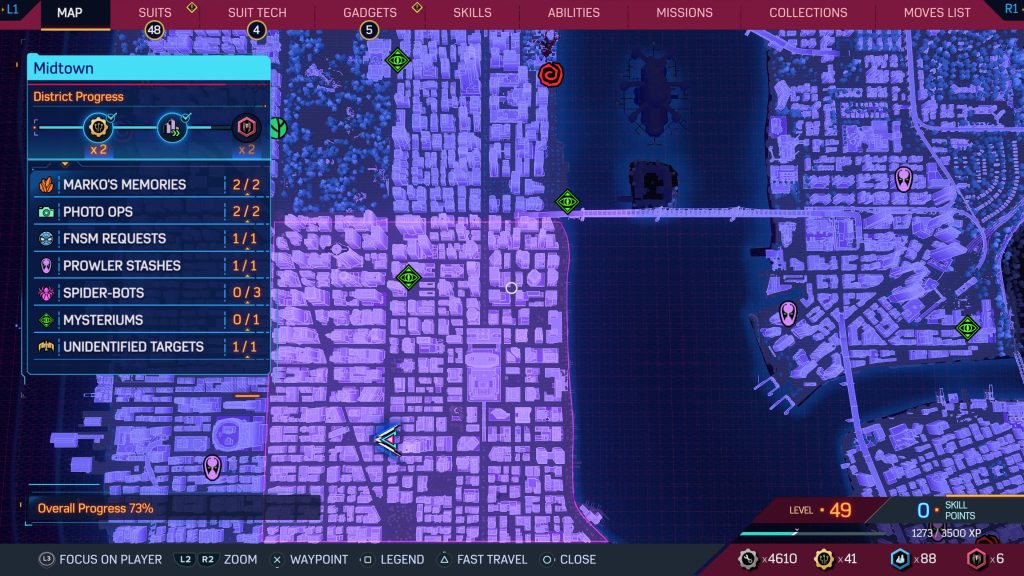
Midtown
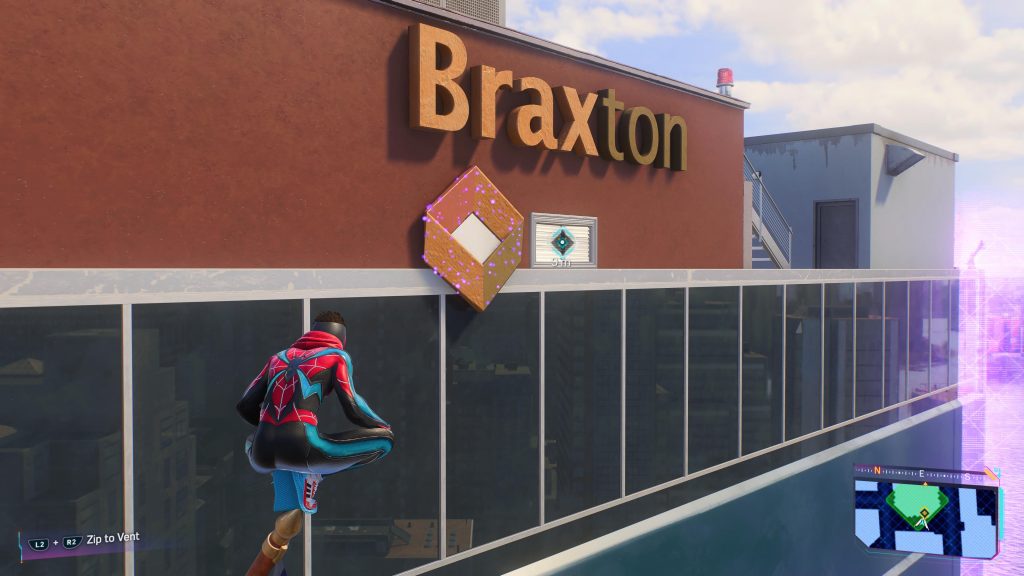
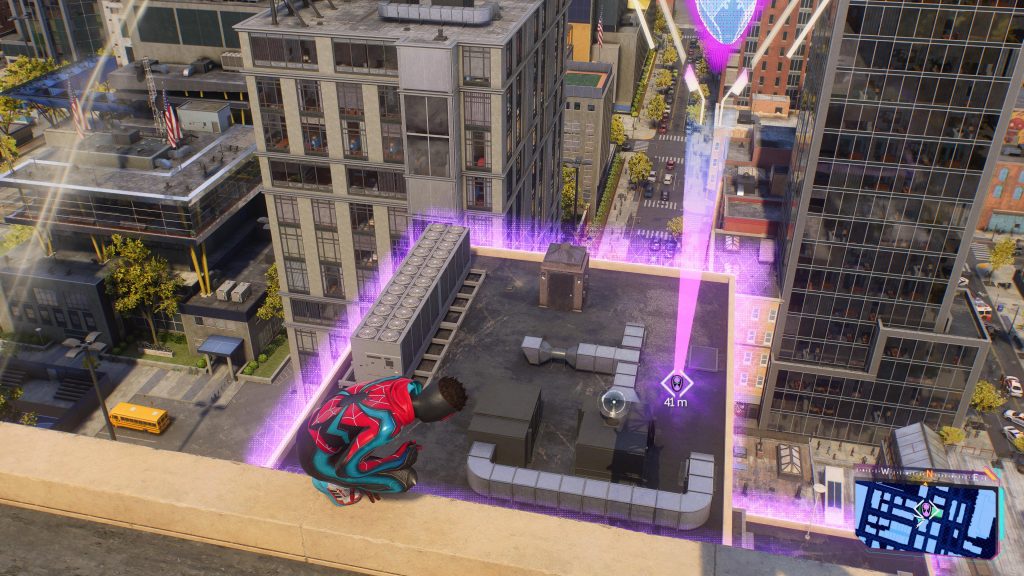
This Prowler Stash is on a rooftop of the Braxton Building, the right side of Midtown. Almost on the riverside but a couple of streets in. Make sure to pick up the tech parts while you’re here.
Scan the B in the Braxton sign on the side of the building and complete the usual trigger mini-game. After this, you’ll want to jump on the flag pole so you’re able to pull across the little sign.
Once you’ve done that you’ll climb into the vent that is behind said sign, and be met with fans and lasers. Web up the fans to stop it moving, and carefully navigate the multiple sets of lasers until you make it to the very inconveniently placed safe.
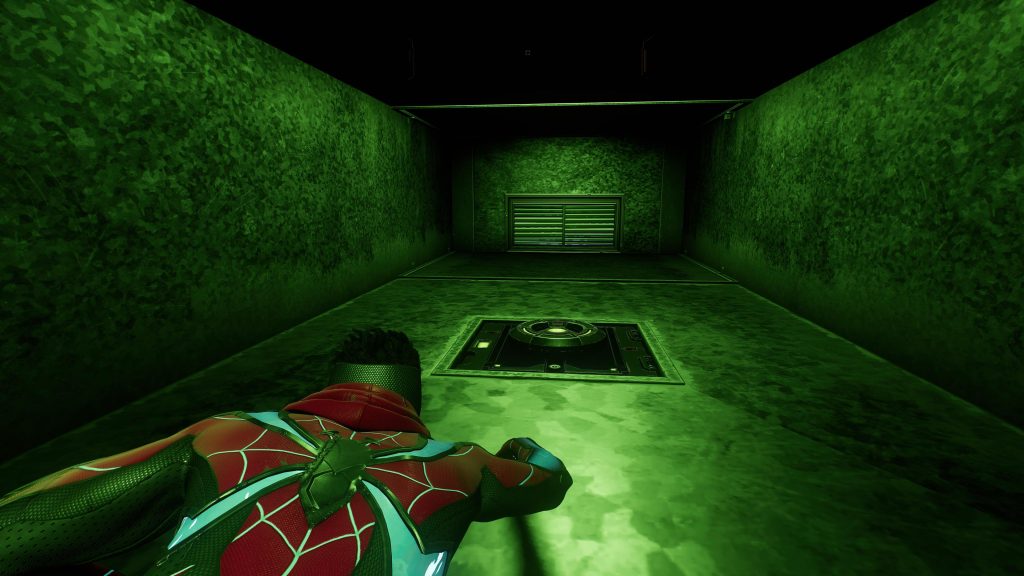
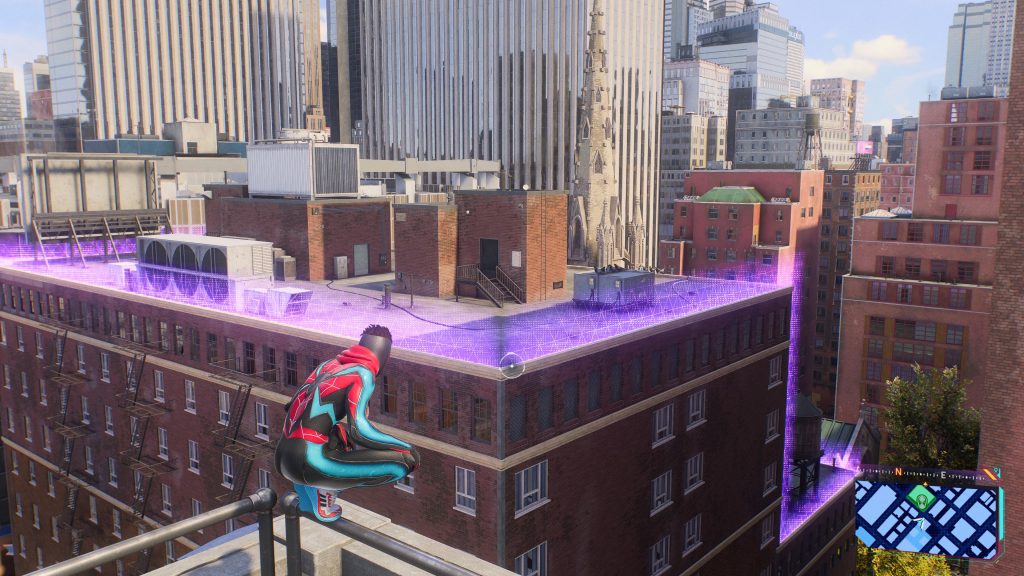
Hell’s Kitchen
Not far from both the church and the stadium is the next stash. Located on the highest rooftop (of many) the initial puzzle is easily found.
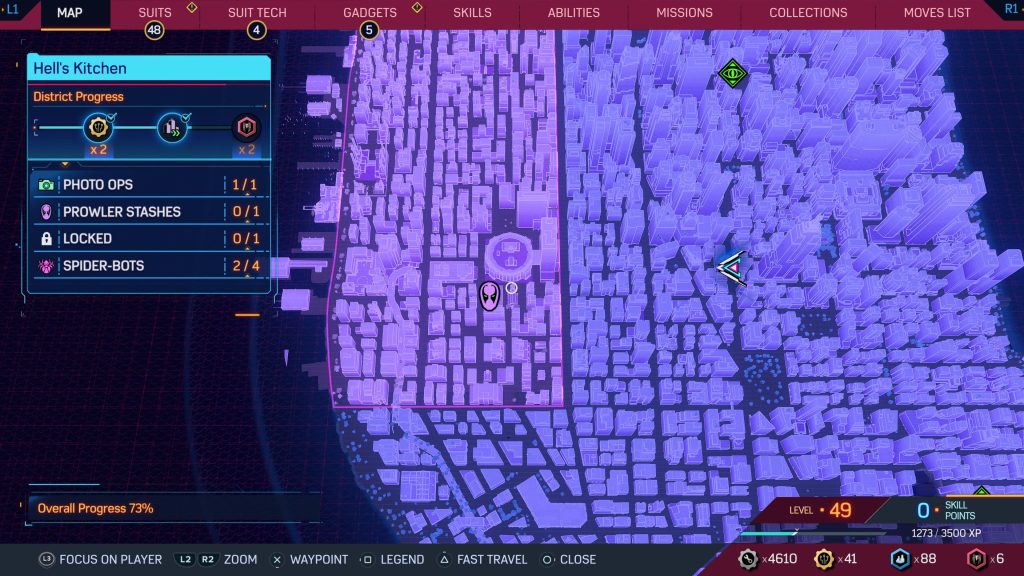
After the usual trigger minigame, a secret opening will open below, revealing a generator. Use your Venom Powers on this and the subsequent one, before following the electrical wire (and fixing it as you go) to the now-opened door, containing the stash.
Greenwich
Located in the bottom left corner of the district you’ll find the next stash. As per, on a rooftop near the coast, difficult to miss.
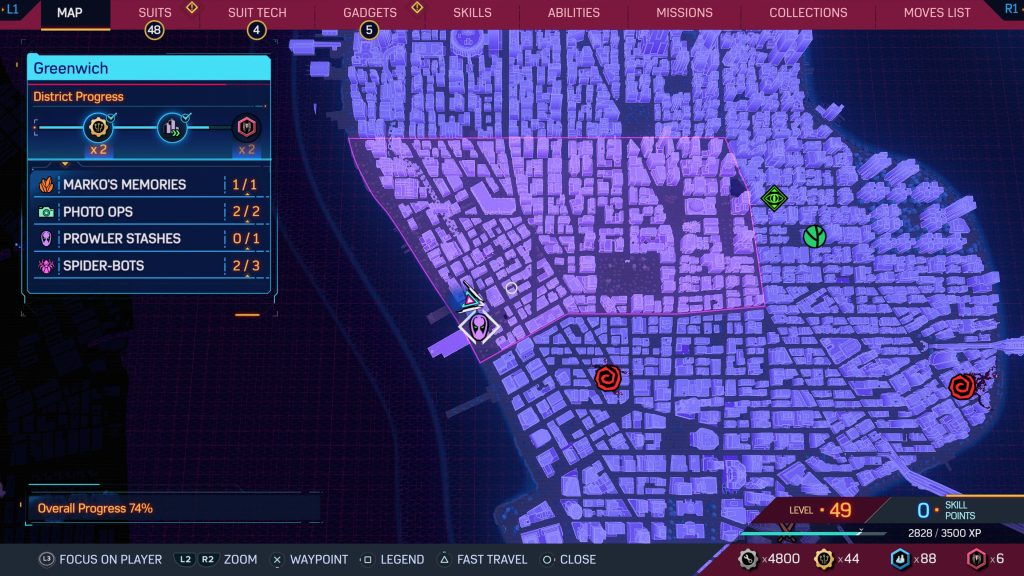
Look for the giant covering and scan it, before flipping it up to reveal the door, but also a second layer of security. Across the rooftop is a series of generators that you’ll need to power up with your Venom. Once that is done, you’ll now have access to the stash and it’s safe.
Downtown Brooklyn
This one you won’t miss. It’s in the middle of Downtown Brooklyn on the top of a nondescript residential building.
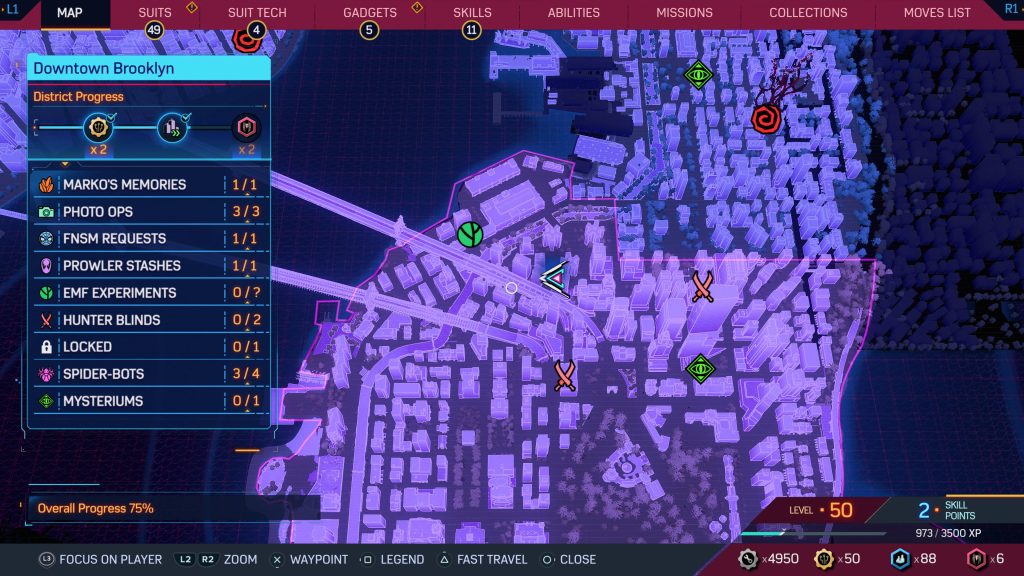
Stand on the rooftop to the right and look down to the lower one to find the scannable area. Easiest stash in the game, completed after a second short trigger game.
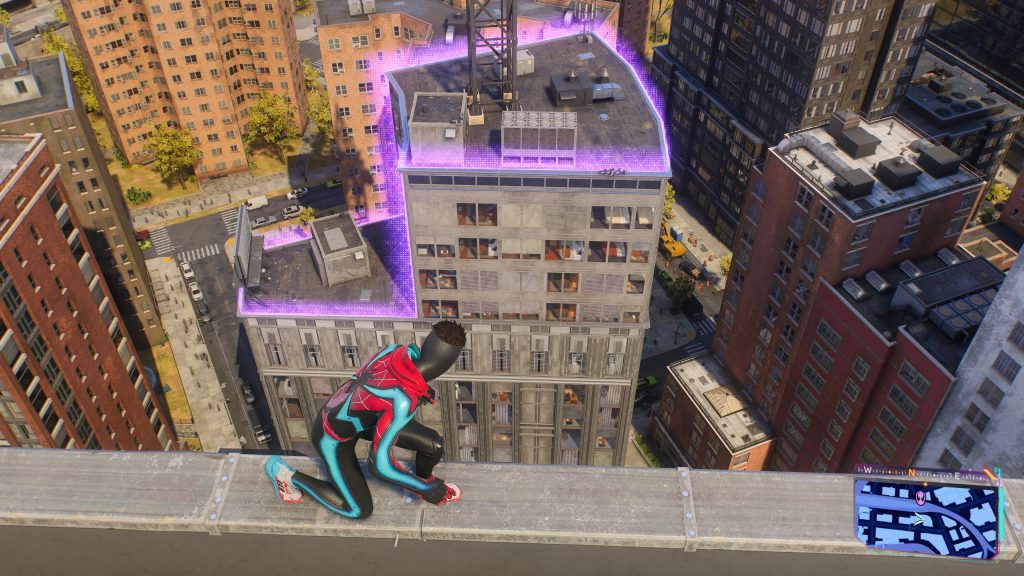
Williamsburg
Another one in the middle of the district on a rooftop – very difficult to miss. Scannable is on the middle rooftop.
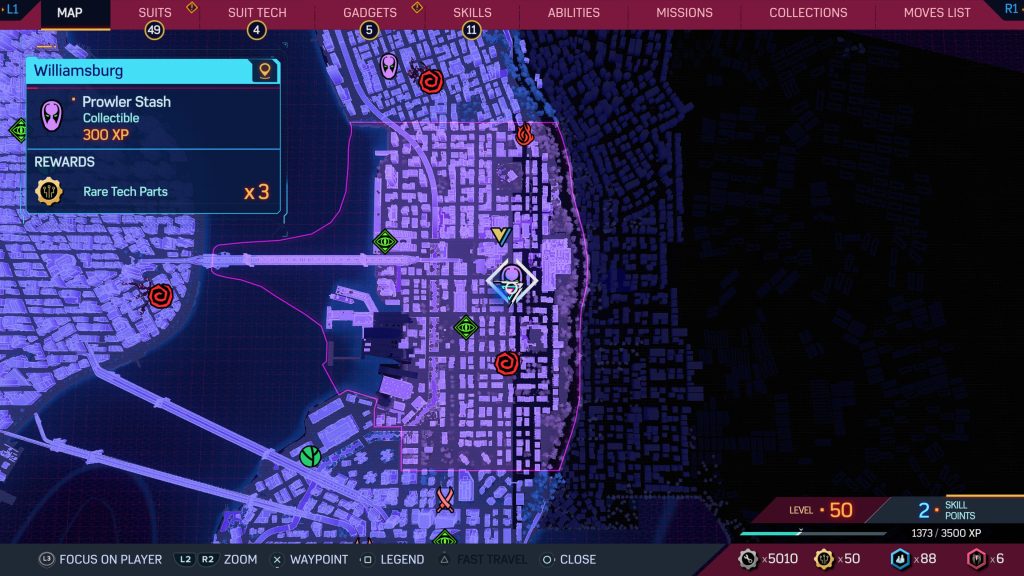
Webpull and open the door and you’ll find a gear. Webpull this and to the left another door will open. Make sure to pull this gear quickly as well and voilà, the stash is in front of you.

Little Odessa
This time, the Prowler Stash is on ground level, in the center of the district in what looks like a container yard. A little more work to be done for this one, but still simple enough. Also one of the smartest locations of all Prowler Stashes.
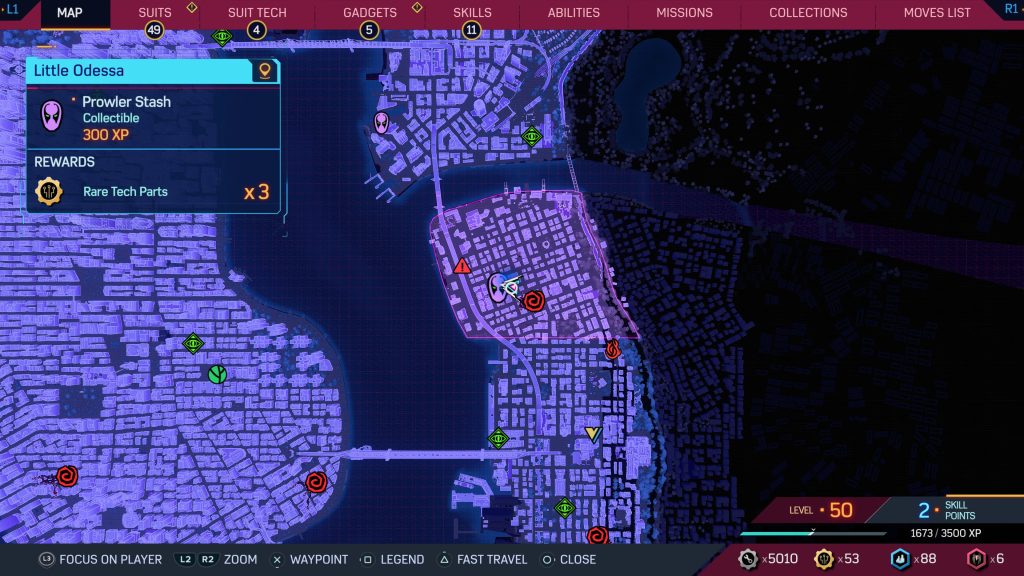
The scannable area is on the floor between two shipping containers. Miles will remark about moving this somewhere else. Climb up a couple of containers on the other side of the yard, and you’ll see a gear to be pulled on the back of the crane.
Back to ground level, you’ll now see the stash opened. You’re almost at the point where you’ve uncovered the locations of all Prowler Stashes!
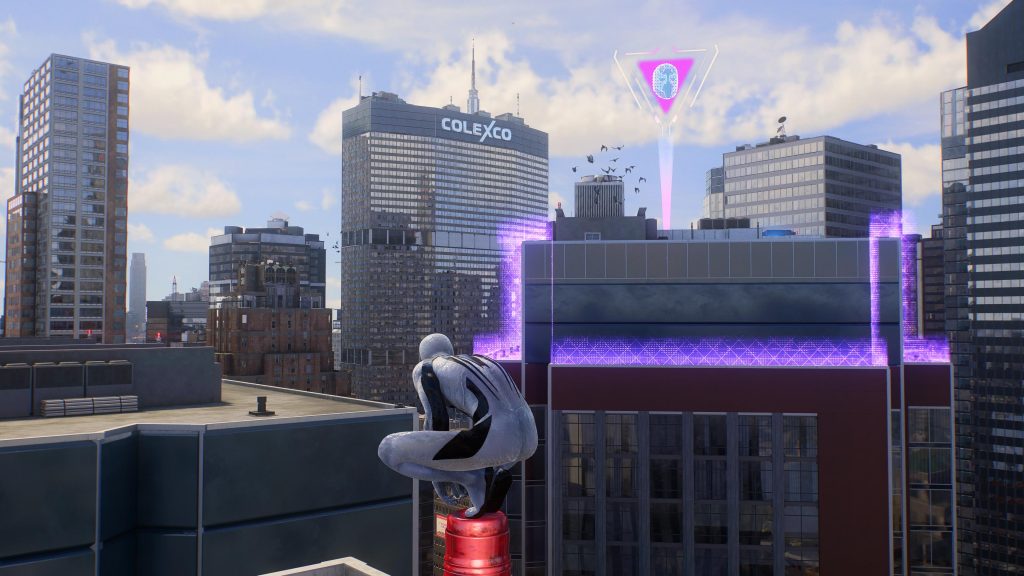
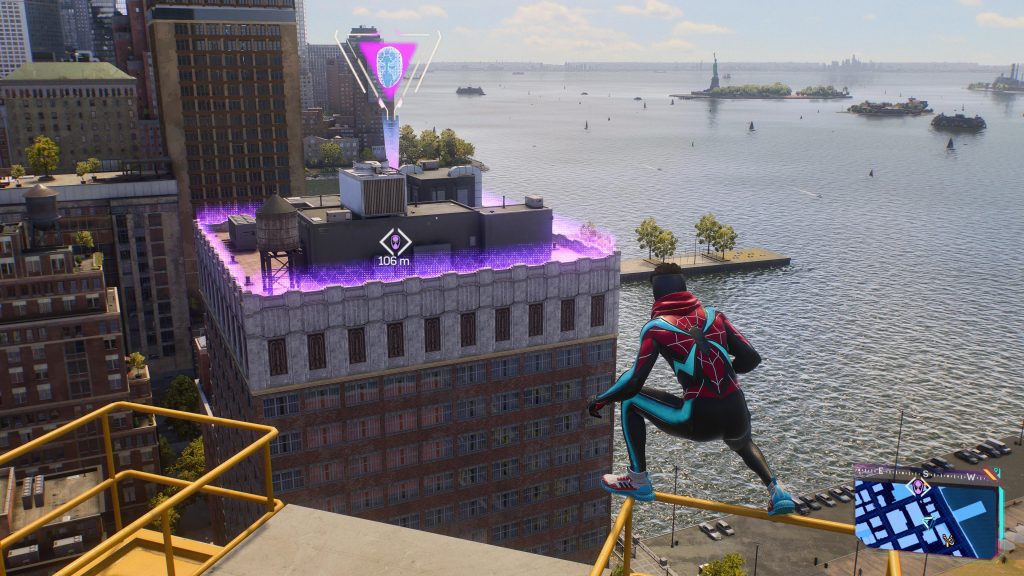
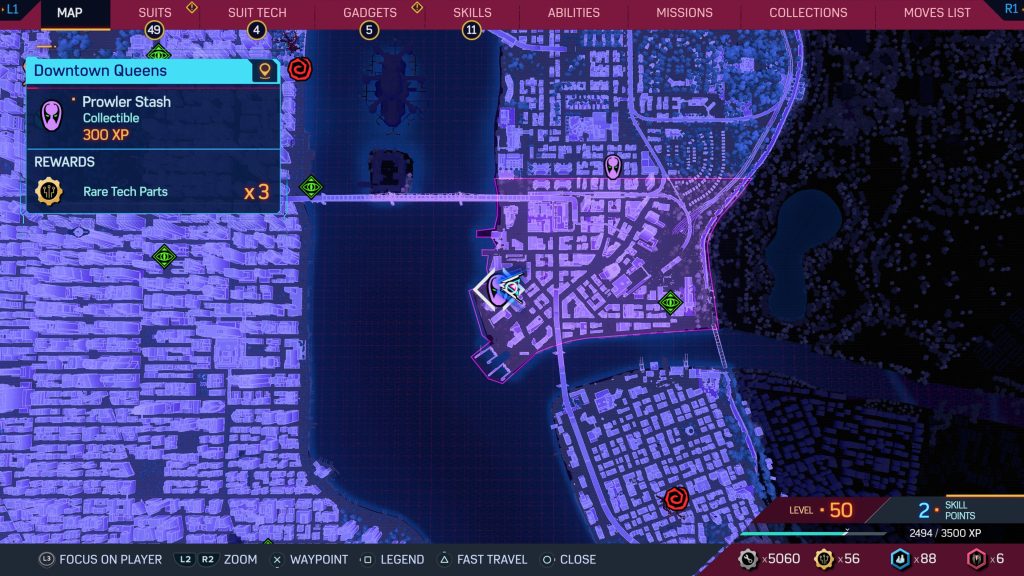
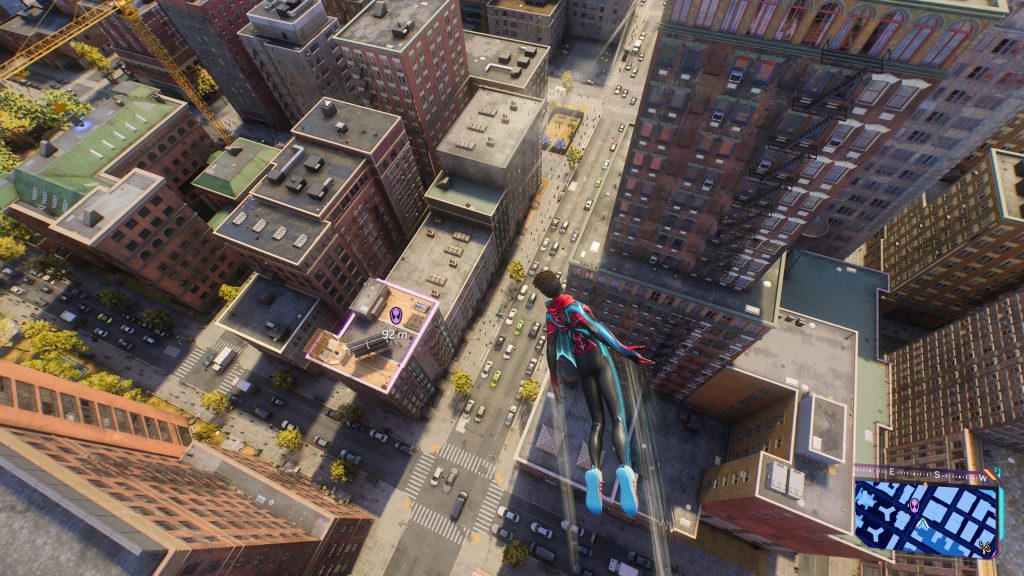
Downtown Queens
You’ll find this one on the far left of the district near the coast at the top of a high rise. The scannable area is on the furthest side of the tower as it is in the picture below.
Next follows another vent excursion filled with irritating lasers. After heading right and flipping a switch, you’ll then have to navigate the lasers as they move, before coming to the end of the vent and the stash.
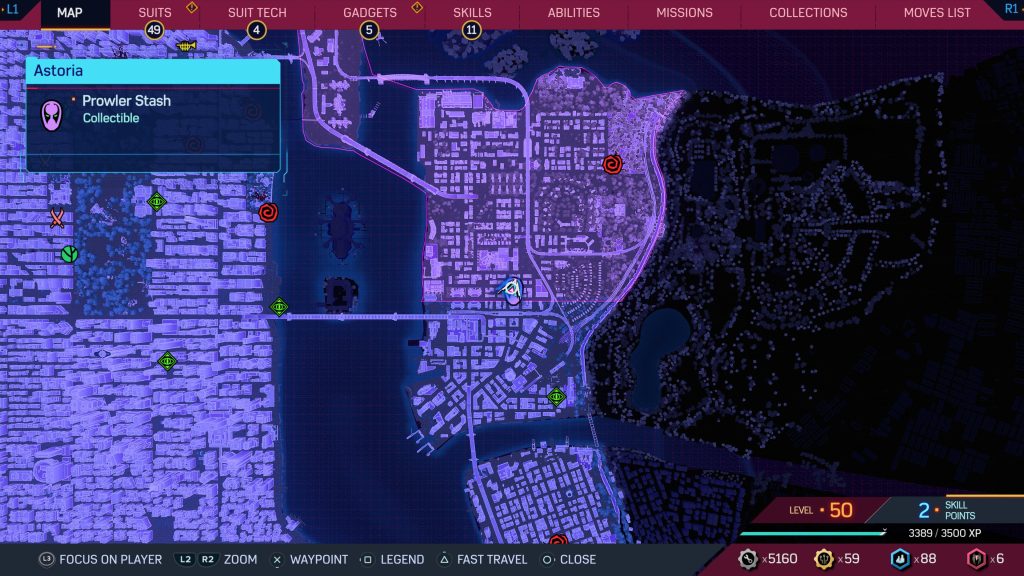
Little Astoria
The last one is located at the bottom of the district and is split over three rooftops. The scannable is at the bottom of the three rooftops, and after the trigger game, you’ll be tasked with finding four electrical boxes.
Do these quickly as they’re on a timer.
- One is right next to the door you’re trying to open.
- The second is above this on a wall above the stash room.
- The third is on the middle rooftop above you, on the side of a little hut.
- The last is on the highest rooftop, near the wallboard.
Return to the first box and the door should now be open and you’ll be able to finish your last stash.
Harlem
Once you’ve found the locations of all Prowler Stashes and completed the simple puzzles, Miles will remark about another stash.
Small rooftop with the scannable on the side of the building you’ll find out Uncle Aaron has some building plans and perhaps a new idea of a heist a little too close to home. Once you’ve gotten back to Miles’ apartment look around and find the picture and missing vinyl player. And that is the end of the side quest.
Once you’ve been to Miles’ apartment and had the shortcut scene, that means you’ve found the locations of all Prowler Stashes! Be sure to check out our other guides for Marvel’s Spider-Man and more!
Follow us for more entertainment coverage on Facebook, Twitter, Instagram, and YouTube.