Alone in the Dark’s Chapter 2 takes you back to Derceto, and introduces a lot more puzzles compared to the previous chapter. Worry not; this Alone in the Dark Chapter 2 Puzzle Guide will cover most of the complex puzzles so you don’t have to spend the extra time figuring things out by yourself.
The chapter starts with investigating an astronomical clock, which reveals a broken plat that needs two pieces. There’s no particular order of doing this, and you can choose how to go about this. Firstly, it’s time to go ahead and solve the whole puzzle.
Alone in the Dark Chapter 2 Puzzle Guide – solving the well and Perosi’s puzzle.
Start off by making your way back through the Piazza and Foyer, opening the door you find after you navigate through the library. This door opens with Batiste’s keychain. Exploring the Conservatory will give you access to a bolt cutter, which will come in handy later on.
Remember, the Parlor has a shotgun in it, and you need the collar found in the drawing room to pick it up. Once done, make your way to the Kitchen Garden. Remember, Alone in the Dark has a lot of areas that can be explored, so keep looking out for potential secrets and collectibles.
Enter the tool shed, thanks to the shiny bolt cutter, and pick up a water hose extension. Find your way to the well, and add this extension to the yellow water hose you locate on the floor. Upon interacting with the faucet, you can fill the well with water. This will bring up a bucket that holds a disc fragment. Remember the astronomical clock? Yep, that’s where it fits.
Find your way to the Administration, unlocking it with the Batiste’s keychain. Inside, you will locate a desk that holds Perosis’s Key that leads to her room. You’ll need to navigate through the Foyer once again and get to the Astronomical clock.
There’s a journal inside that holds several zodiac signs and numbers. Turn towards the left, and you’ll notice a bunch of paintings. These can be interacted with; turning them leads to reading out the names:
- Franklyn Mosig
- Simone Danny
- William Arges
Now, on your right, you’ll find a family tree with a series of names with numbers attached to them:
- William (2)
- Simone (4)
- Franklin (9)
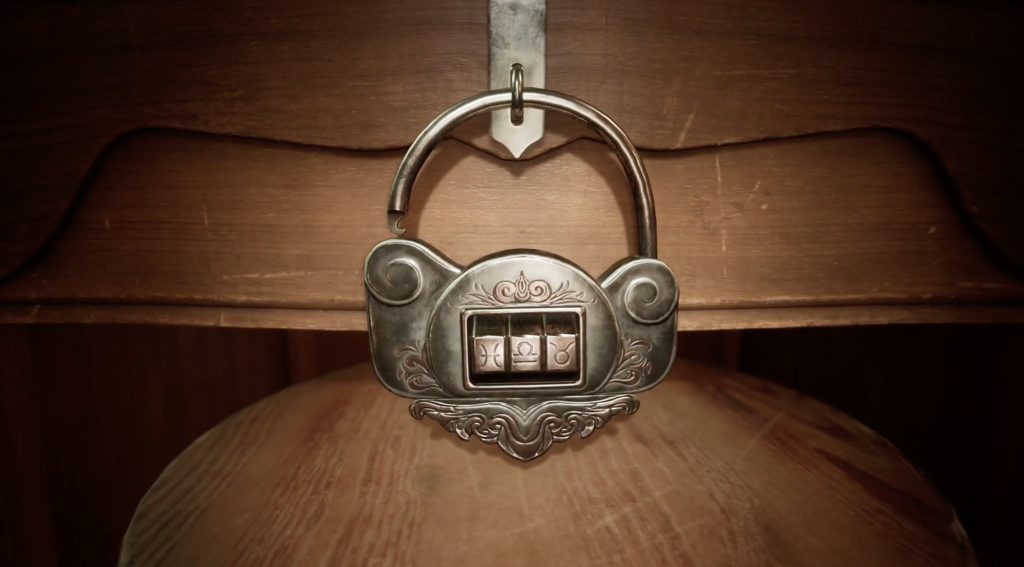
Make sure you take note of this, as this matches directly with the zodiac signs in Perosi’s journal. The combination eventually reveals Pisces, Libra, and Taurus. All you need to do now is enter the same code into the drawer’s padlock. This will give you another disc fragment for the Astronomical clock.
Exploring the Oil Rig and solving the Medicine bottles, Cellar, and Cemetery puzzles
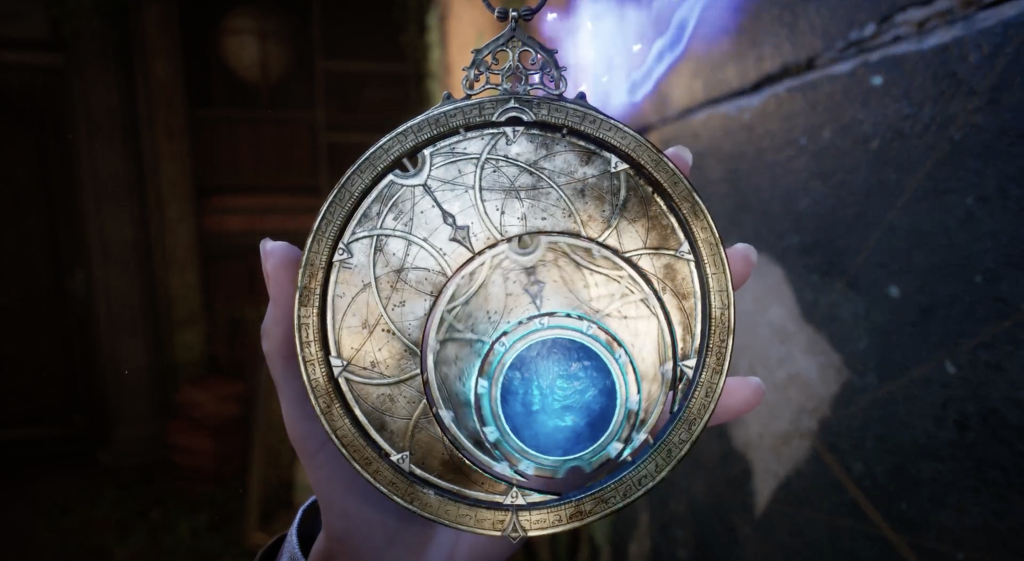
Now that you have both the disc fragments in place, the right-hand side of the clock will reveal the talisman code. Entering 3-4-6 will let you enter the hallway eventually leading you to the Oli Rig. After this, make your way through the warehouse and search the lockers for a Backdoor Key.

Navigate through this area, and leave the house through the Jetty Key. Find your way to the lower bridge, and locate a chain hanging outside. This triggers a cutscene.
What follows is a series of action sequences and hordes of enemies coming your way. Alone in the Dark pops these out every once in a while, so keep your guard up. Survive through the next bit, and you’ll be returning to Derceto. Here, you are going to find the palette knife, sitting room key, and cellar key.
When you return to the Astronomical Clock, there’s a puzzle with medicine bottles involved. One of the bottles is found on a table in the middle room. Upon exploring the notes (that help in navigation), you’ll find yourself entering the Mezzanine. Locate the Grand Parlor, take a look at the piano, and find the key to the medicine box on top of it.
From Lottie’s room, unlock the medicine box and make your way back to Cassandra’s room. Marking up the patterns related to the zodiac signs you found earlier in the journal. Enter the signs Pisces, Gemini, and Leo and receive a disc fragment.
You can find a valve in the next area of Alone in the Dark. With this, return to the Boiler Room. Interact with the clerk sitting on the floor, and obtain another disc fragment. This will let you solve another puzzle.
Here, the valve gauges reveal a code. Add the talisman to the disc, and use the combination 9-7-5. Finally, you will make your way to the Cemetery. You need to locate three medallions. One of these is in a statue’s hand that’s covered in yellow flowers. Another one is inside a crypt, navigating it will reveal a similar statue and get you the second medallion. Once you explore this, a chase sequence will be triggered, leading you to another area. Here, pick up the final medallion at the end.
Adding all three of these to the chapel door will let you enter a cutscene, that takes you back to Derceto. Exploring this will eventually lead to Chapter 3. Even though Alone in the Dark can be a short journey, it can be longer depending on how well you explore certain areas.
Were you able to navigate through this chapter without losing track of time in the process? Let us know in the comments below.